
Potter DIY: Golden Snitch
This very cool, very authentic-looking Golden Snitch tutorial comes to us from Kimberly over at Finding My Way. These can be used to decorate for a party or can be a fun craft to do with your kids!
What You’ll Need:
- Smoothfoam Styrofoam ball – (1.5 inches/3.8 centimeters in diameter)
- MagiKote
- Darice embossed angel wings–white iridescent – 4.75 inch
- Gold acrylic paint
- Black acrylic paint
- Embossing stylus
- Fine wire
- Craft glue
- Pencil
- Sandpaper
Directions:
Step 1: Take your Styrofoam ball and gently use sandpaper to sand down the seam. Depending on the ball you have purchased, you will see the ball comes with a pre-drilled hole on one side—this is a good side to keep as the bottom of your Snitch. If not, don’t worry; just pick a side!
Step 2: Use your pencil to sketch out the ridges and details on the Golden Snitch. You can pull up a picture of a Snitch (a good shot to use is the still from when Harry’s first Snitch reveals the words “I open at the close”) and free-hand the design. Make sure not to put too much pressure on the ball as you draw since you can easily puncture the surface when working with foam.
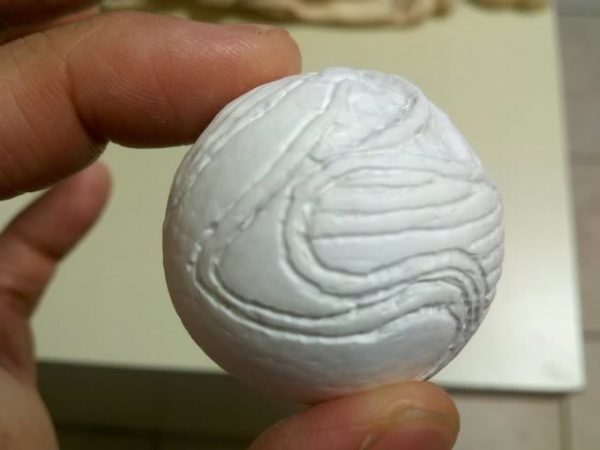
Step 3: After you are satisfied with your sketches, take a small stylus and go directly over all of the pencil lines you drew on the ball.
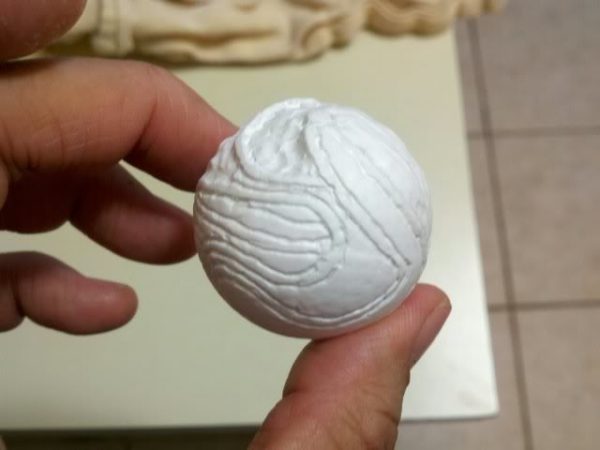
Step 4: Then take the largest side of your embossing styluses and use it to apply light pressure in all of the negative space in your sketches. Basically, you are creating all of the raised details on the Snitch by compressing the rest of the ball around the pencil drawings. You will also find that the closer you get to your sketch lines, the smaller tip of stylus you may need. A word of caution— be very aware of how much pressure you are putting on the stylus and ball. You can (as with the pencil) go through the surface easily. To fix mistakes, fill the crater holes with craft glue.
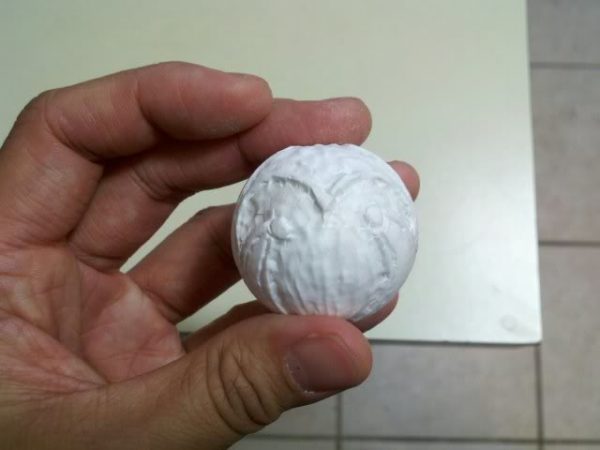
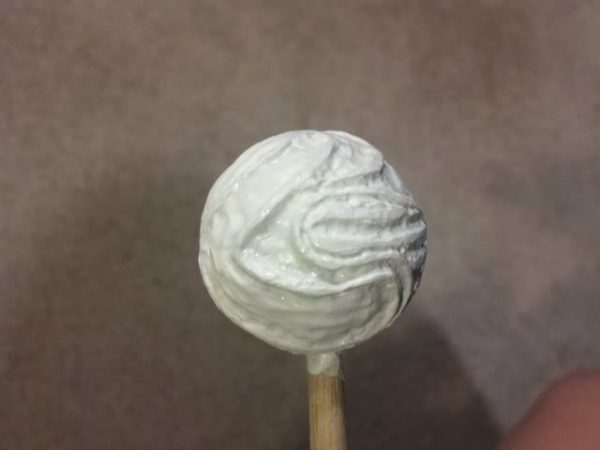
Step 5: After you are done, you can sand down any of the areas you feel might still need smoothing out. Then take your wooden dowel, or any straight item, and place it into the small hole in the ball (if your ball didn’t come with one, make one!). This will make holding the Snitch while painting/drying much easier.
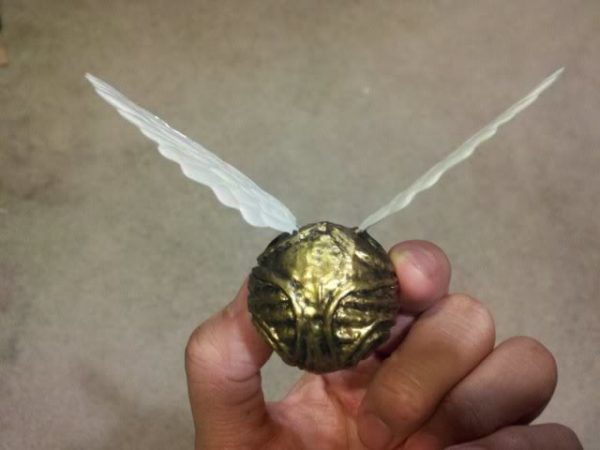
Step 6: Then give the Snitch a few coats of gold paint. Let it dry.
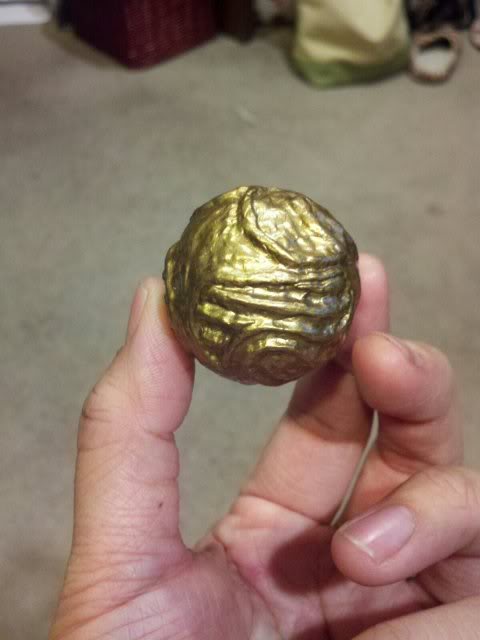
Step 7: Dry brush a little black paint onto the Snitch, making sure to rub off the majority of it as soon as you paint it. This will help create the shadows in the contours of your Snitch. Once dry, remove the Snitch from the dowel. Fill the hole in the underside with craft glue and paint over it with gold paint and black paint as you did with the rest of the Snitch.
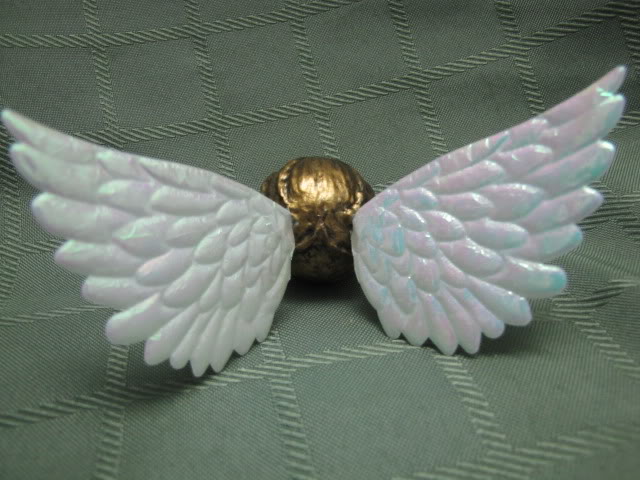
Step 8: Now for the angel wings. Take the angel wings, and cut them in half. Take two very small lengths of your wire (perhaps about an inch long each) and fold them in half – then open them until they each form a letter “V.”
Step 9: Take one piece of bent wire. Gently try to work the opening of the “V” into the small gap on the cut side of the angel wing. Use a drop of craft glue inside the wing, and hold it closed to secure the wire in there. Then repeat with the second wing, and let both of them dry.
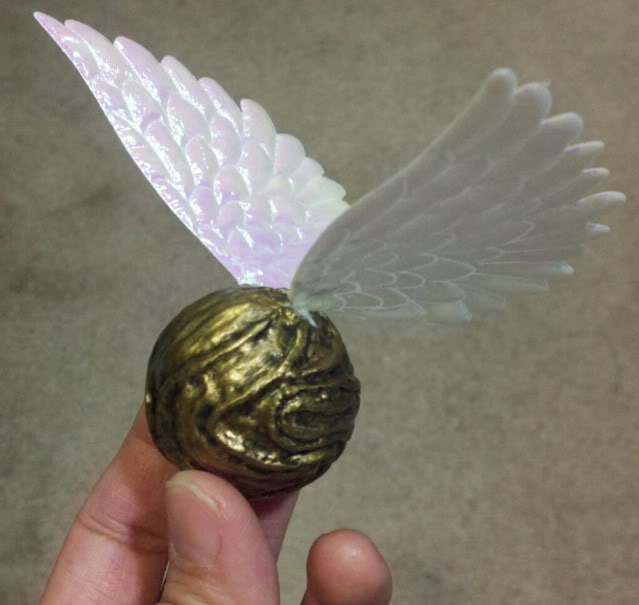
Step 10: Take a straight pin, and place a hole in each area of your Snitch where the wings would be. Carefully bend the exposed part of the wire (the bottom end of the “V”) from each wing together into a point. Work that now pointy end of each wire into the holes you created with the straight pin. Make sure they are in up to the base of each wing. Place a drop of craft glue on each to secure it. Let dry. You should be able to bend and reposition the wings a little bit so that they can stay open at whatever width you prefer. And now you’re done!
Check out more DIYs on our main Potter DIY page!