
Potter DIY: Light Switch Cover
The Wand-Lighting Charm, “Lumos” is one of the most useful spells in the wizarding world, so it’s no surprise that the charm has inspired countless projects in the Muggle world. Check out this super simple DIY of a magical light switch.
What You’ll Need:
- Printer
- Paper
- Pencil
- Tracing paper
- Cutting board
- Craft blade (X-acto knife) and/or scissors
- Tape
- Light switch cover (plastic works, but wood may be easier to paint on)
- Thin-tipped paintbrush
- Black acrylic paint
- Yellow glow-in-the-dark paint
- Spray paint sealer
Directions:
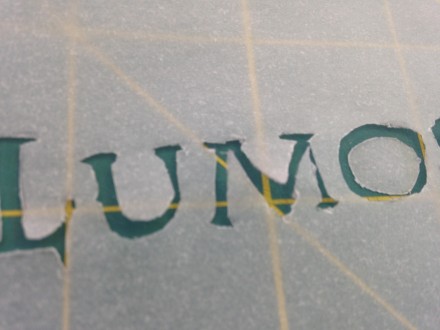
Step 1: Type the words “Lumos” and “Nox” using the Lumos typeface, put them in Photoshop or Paint to size them correctly, and print them out. Or you could print out the photo below at the correct size.

Step 2: Use a pencil and tracing paper to trace the outline of each letter. You are going to use this tracing paper as your stencil to put the words on the light switch cover, so when you’re finished tracing, you will need to use a craft blade and/or scissors to cut out each letter, following the pencil lines you made. Save the circles from the middle of the “O”s. Make sure the blade is sharp, and move slowly so that you don’t tear the tracing paper.
Step 3: After you cut out all the letters, cut loosely around each of the words so that you have two rectangles. These are your stencils. Lay each word where you want it on your light switch cover and tape down the edges so that your stencil will not move. Roll a little piece of tape (or use double-sided tape), and stick it to the back of the circles that you were left with when cutting out the “O”s. Place the circles back in the middle.
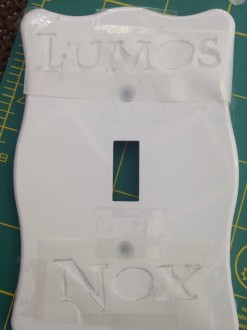
Step 4: Now you’re ready to start painting. Water down the paint a little bit so that it glides on easily. Paint in your stencils. You will want to do about two coats of this, so let the first coat dry before going back over the letters. Add more coats if you need to make this darker or need more coverage.
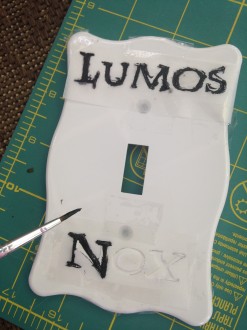
Step 5: When the paint has dried, remove the stencils carefully. You might have a few places where your paint leaked or you went out of the lines. If this is the case, and you’re painting on a plastic cover, you can scrape excess paint off with your fingernail.
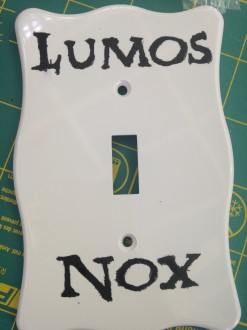
Step 6: Add a trail of stars or sparkles (like a wand trail) with glow-in-the-dark paint. The yellow paint from Martha Stewart has a good consistency. Paint a few small star-like shapes, starting at the bottom of the “L” and curving toward the right and down to the “O” in Nox. You’ll want to use two coats of this as well; otherwise, the glow is not strong.
Step 7: Spray the paint sealer over everything. After letting it dry, you may want to add another paint layer on the glow-in-the-dark stars because the sealer dulls the glow. After all this, it’s ready to put up! This is a fun project that can add a great accent to any room.
Don’t forget to check out our other DIYs on our main Potter DIY page!