Potter DIY: “Harry Potter” Flower Pots
by Missy
Spring is finally arriving in the Northern hemisphere, and as we’re all getting our green thumbs ready, here is a great way to add a little Harry Potter to your garden.
What You’ll Need:
- A 12-inch diameter pot that is approximately 11-12 inches tall
- Soap and water
- Bleach
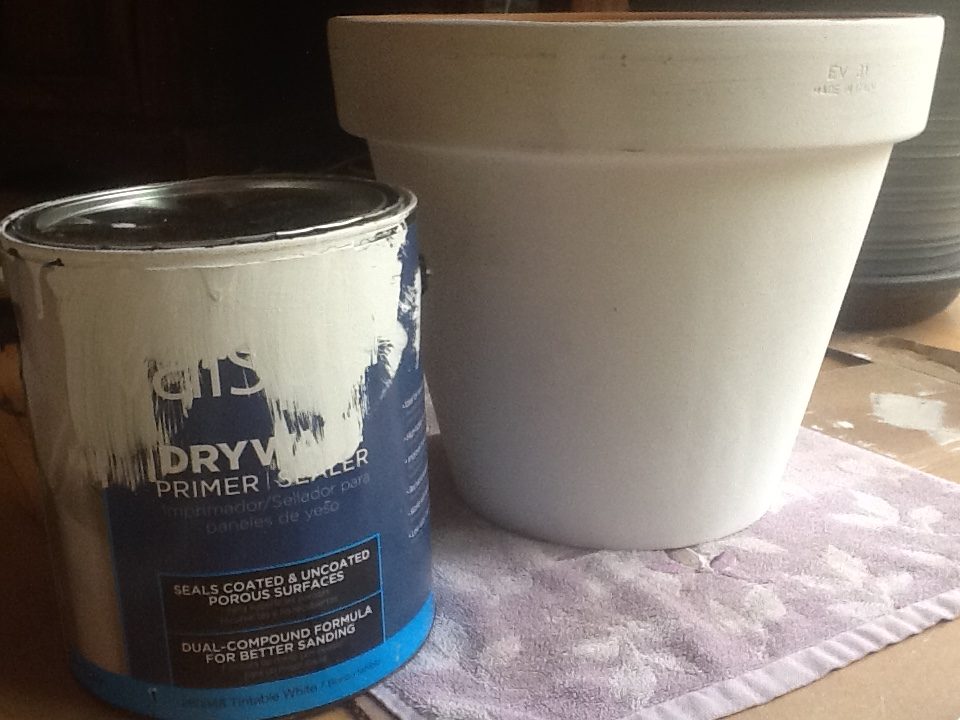
- Paint primer (I used indoor/outdoor drywall primer)
- Sandpaper
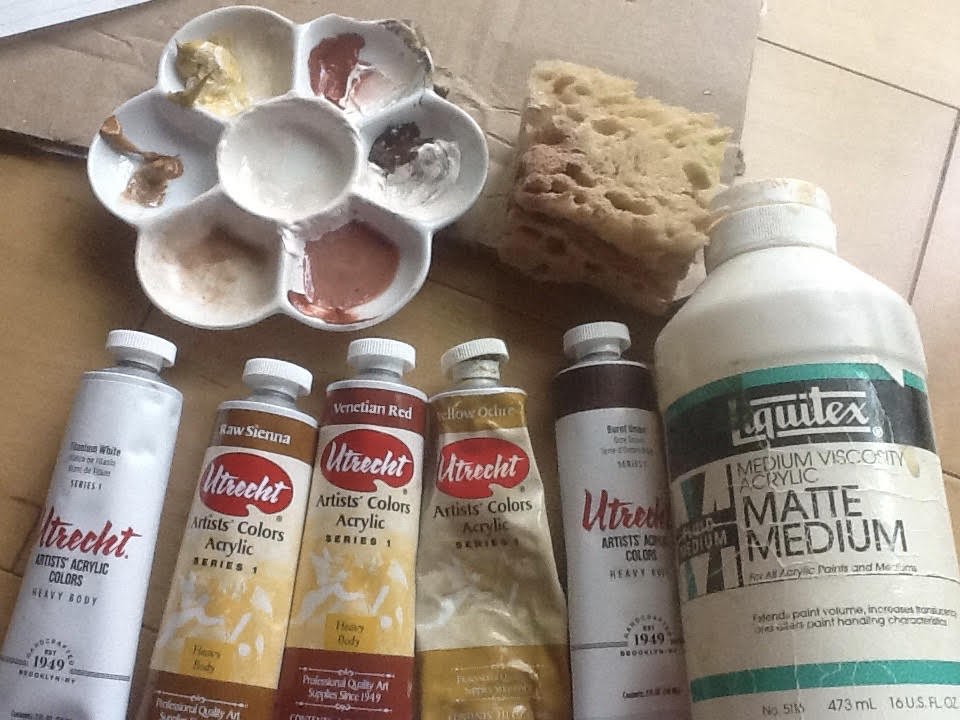
- Green, magenta, and umber acrylic paint
- Matte medium (optional)
- Paintbrushes and sponges for painting
- A pencil
- Spar Helmsman varnish
Directions
Prepping Your Pot
Step 1: Wash your pot thoroughly with soap and water, then spray it with a bleach solution mixed at one part bleach to four parts water. Let it sit for 20 minutes to let the bleach do its work, then wash your pot with soap and water again to remove any bleach residue. Let it dry completely.
Step 2: Next, cover your flower pot with a painting primer – I used an indoor/outdoor drywall primer, which did the trick. Let it dry fully again, and then lightly sand the whole surface.
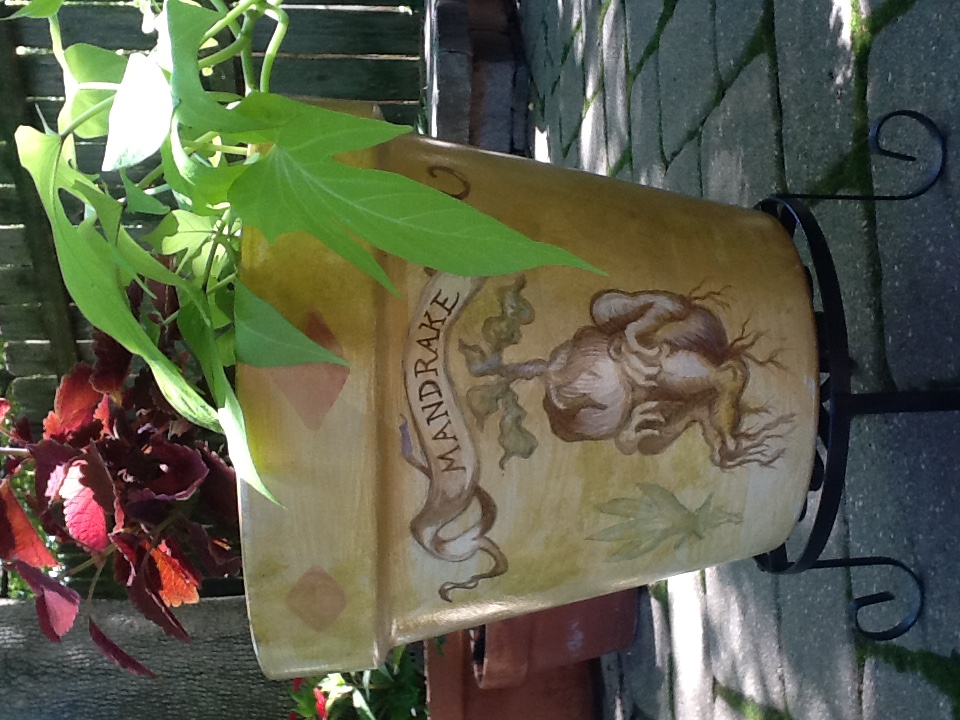
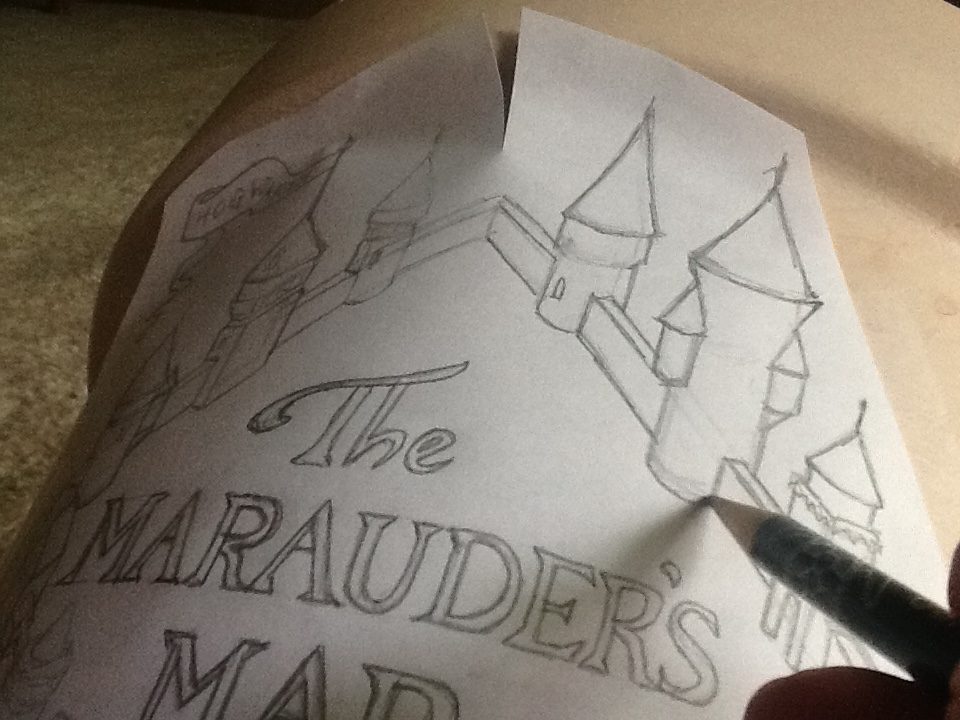
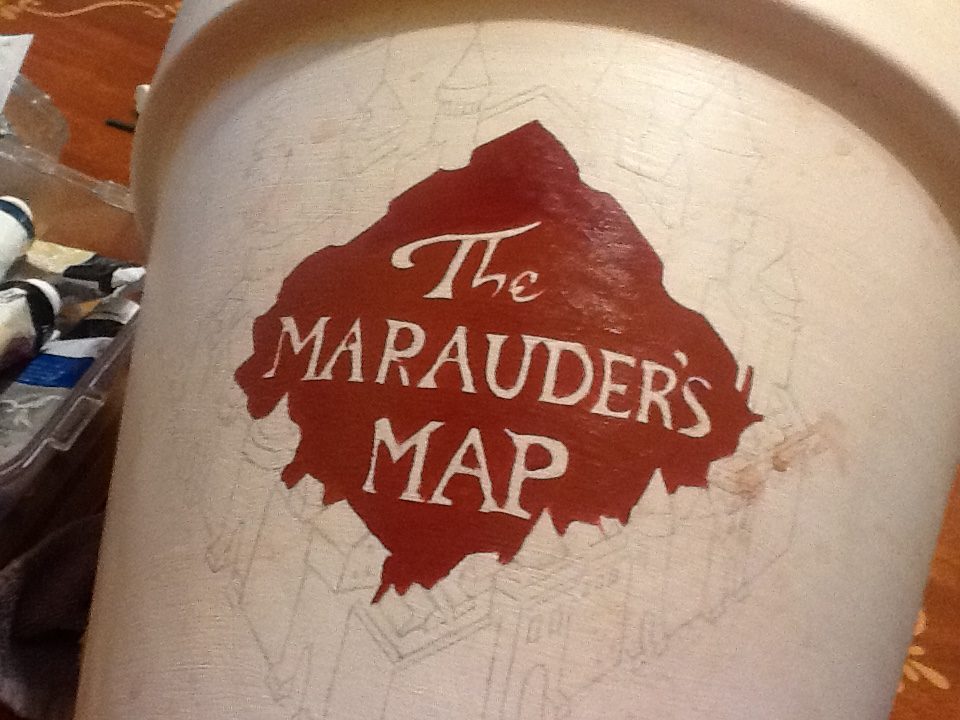
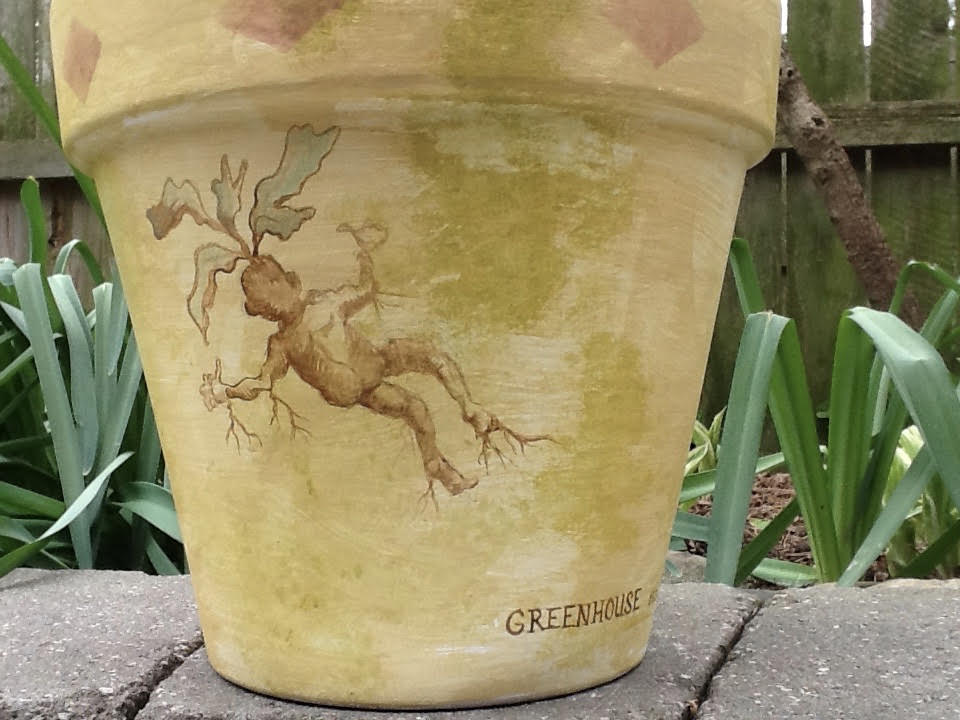
Step 3: Now you can draw your design on the surface of your primed pot with a pencil. I used a Mandrake design heavily inspired by Jim Kay’s Mandrakes.
Doing the Painting
Step 4: Using a mixture of acrylic paint, matte medium, and water, mix and thin out your paint until you get an oatmeal-yellow color for the background. The trick with this project is to use the acrylic paints more like you would use watercolors than as opaque paint. Apply your thinned brown to the primer and paint around the edges of your design to fill in the background.
Step 5: On the Mandrake pot, using a moss green thinned out slightly, apply the paint with a sponge to the areas where you want it to look like a lichen. I also used a thinned-out magenta for the diamonds at the top of the mandrake pot. Burnt umber brown is a good choice for painting the forms of the Mandrakes, again using the paints in a watercolor style rather than acrylic. This way, you get the botanical illustration feel and loose line look.
Any shape you can get that remotely looks like a human body, paint it on with the umber, then “grow” a stem and leaves out of the head and roots out of the elbows, feet, ankles, etc. It’s fun to add things like “Greenhouse No. 3” at the bottom, the name of the gardener, or other mandrakes/botanical things like diagrams of leaves, seedpods, roots, flowers, etc., which give it a more authentic look.
Finishing Touches
Step 6: Once your paint design is dry, spray or brush on Spar Helmsman varnish, which is better for outdoor things than regular polyurethane. Spar Helmsman protects against UV light, which fades paints. Give it at least 3 coats, following the instructions on the can. It is expensive but worth it.
It’s important to note that you shouldn’t leave your painted flower pot outside through the winter. If you plant something in it, the pot will get saturated with wet dirt. If this freezes, then it can break the pot. I recommend you move the pot (whether you’ve filled it with anything or not) to a garage, a covered area, or better yet, inside – where it won’t expand and contract so much with extreme temperatures.
Have a DIY of your own that you want to submit? Check out our submissions page here.