Potter DIY: “Harry Potter” Baby Mobile
by Keth
Whether you have a kiddo of your own you want to make this for or you’re giving it to a friend, this Harry Potter baby mobile DIY is the perfect way to start them on Potter early.
What You’ll Need:
- Three different species of wood of various colors each measuring about 1/2 inch x 5 inches x 6 inches
- Seven silhouette images from Harry Potter
- Mini eyelets/screw eye pin (x7)
- Clear packing tape
- Scissors
- Multipurpose adhesive spray 3M
- Fishing line, twine, or string
- 1/8-inch brass bar, 50 inches long
- Mineral or Danish oil
- A 1-inch wide foam brush
- Wood glue
- Hot glue
Tools You’ll Need:
- Pliers
- A scroll saw
- An electric or hand sander
- Wire cutters
- A drill with a 1/32-inch drill bit
Directions
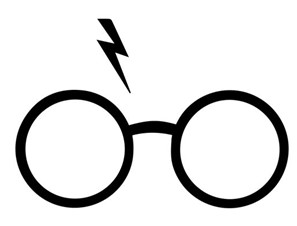
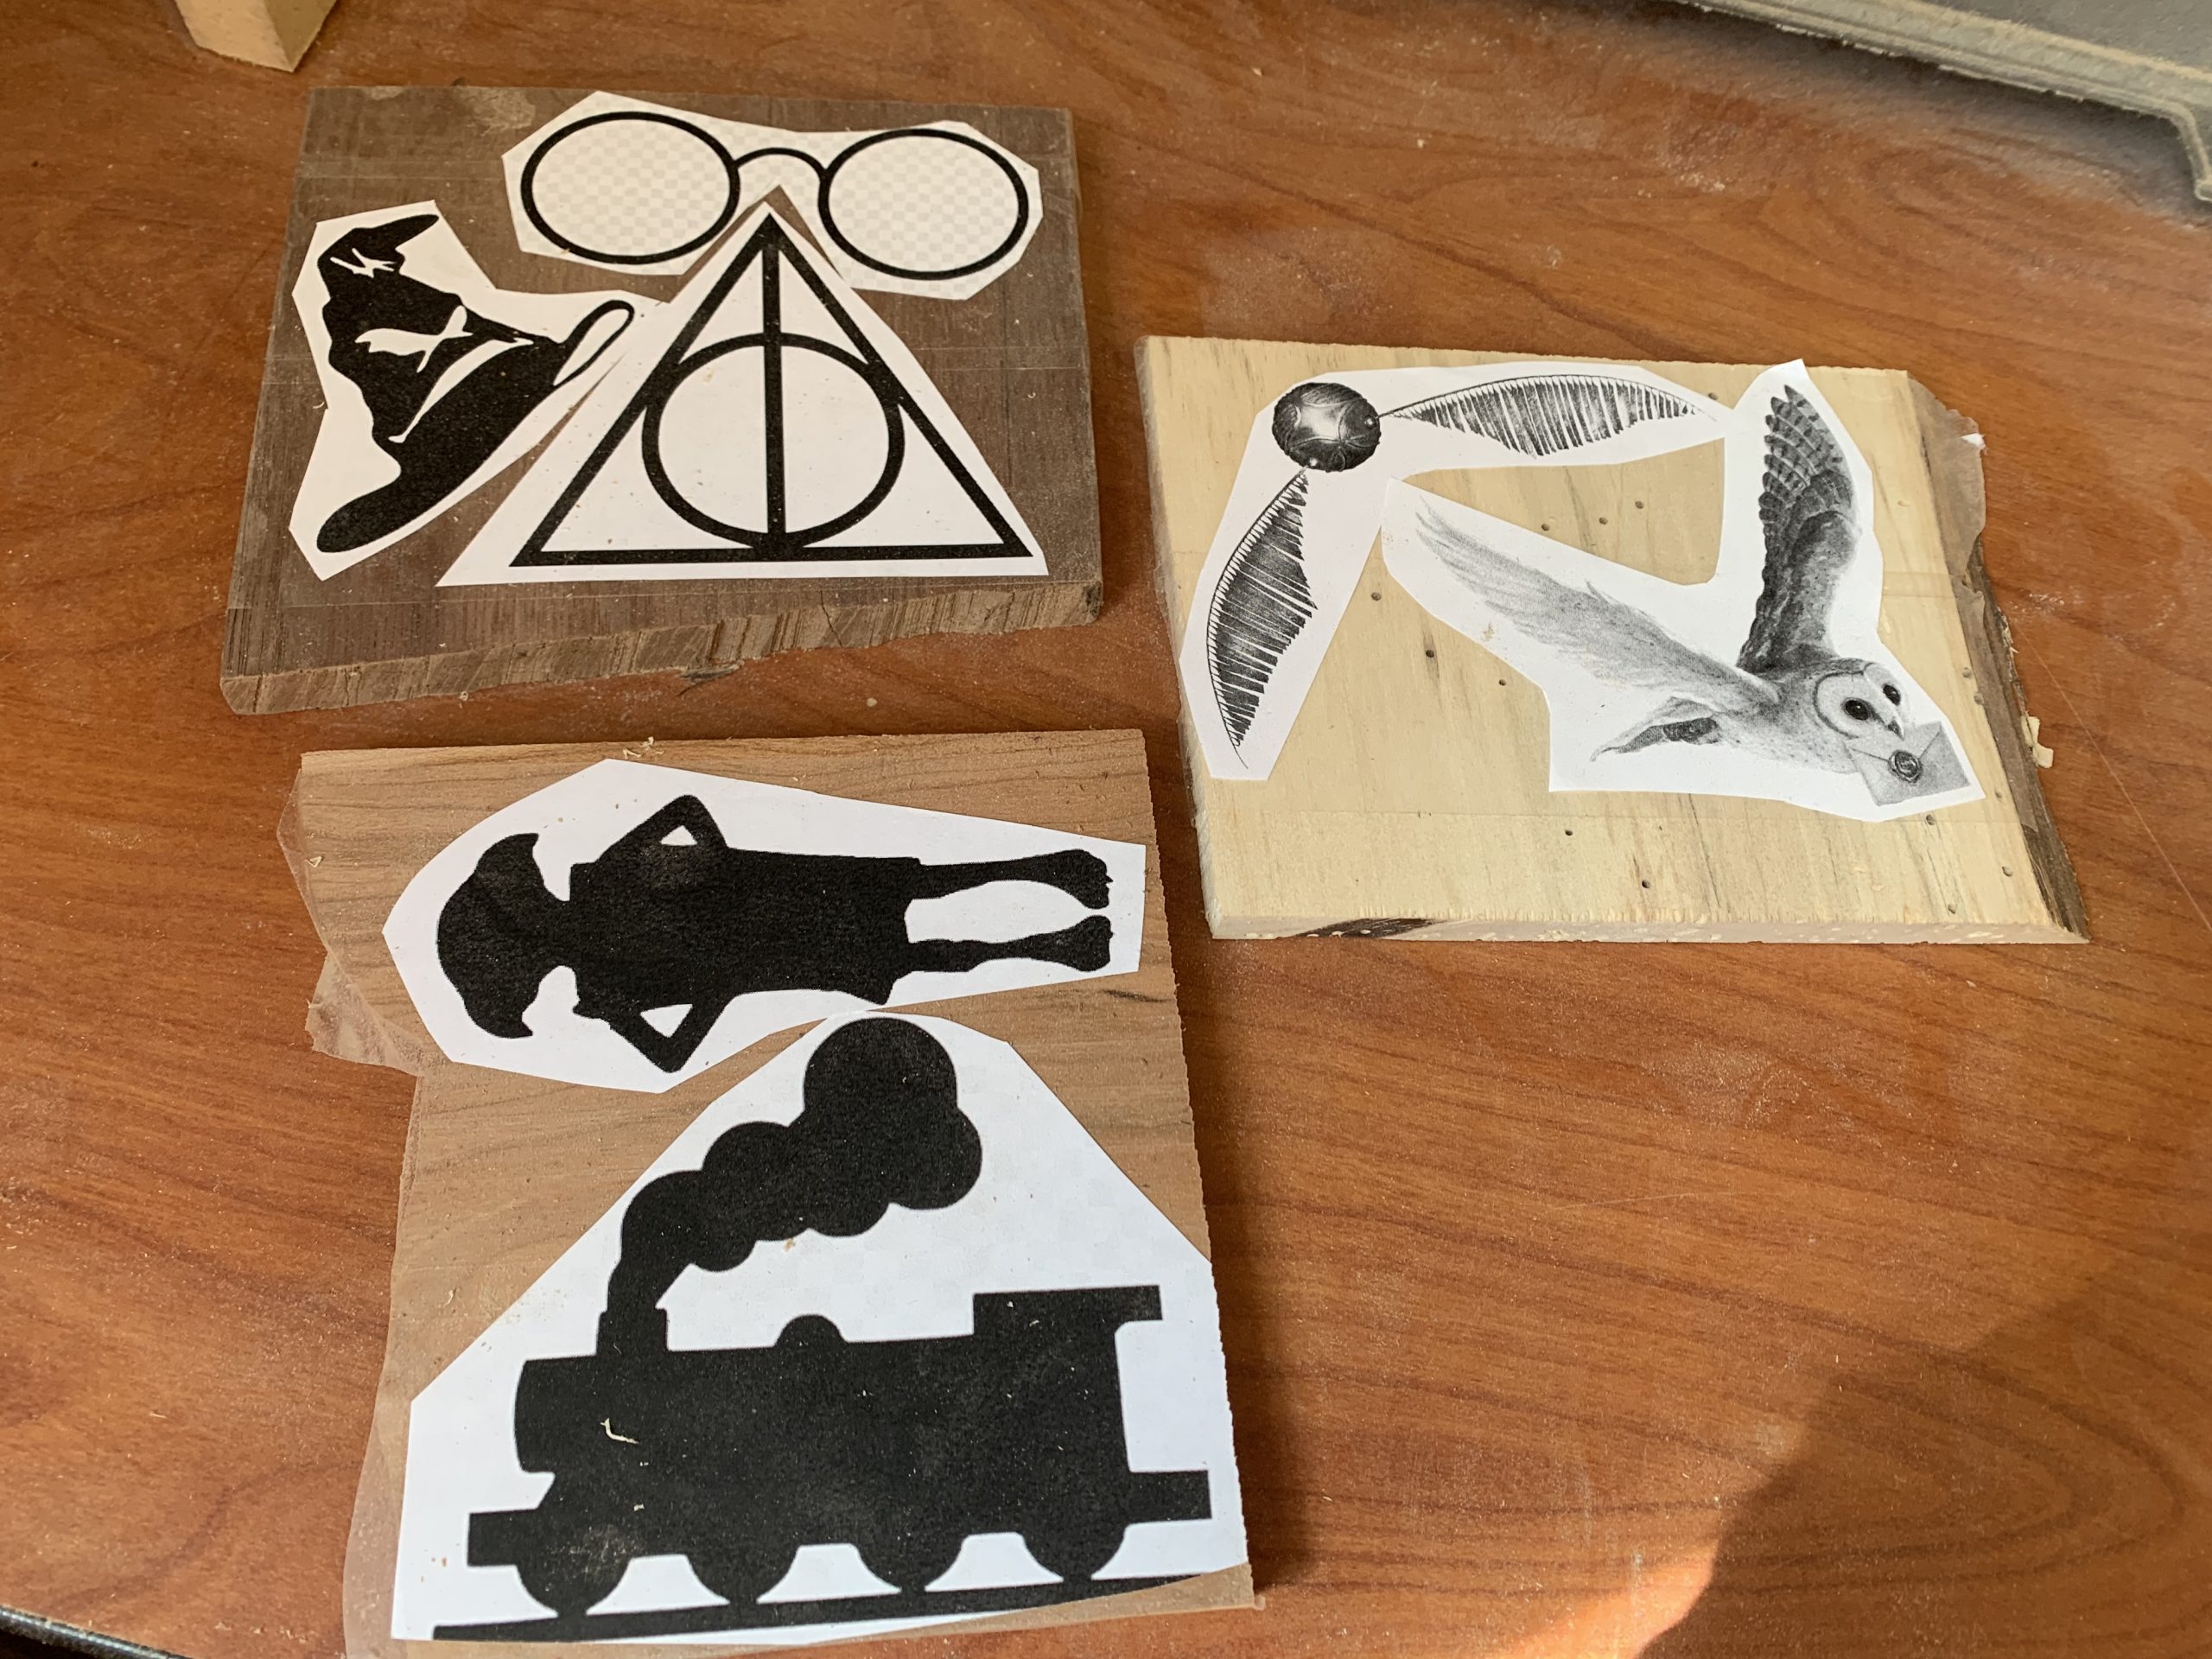
Step 1: First, obtain and print seven of your favorite iconic silhouettes/outlines from the Harry Potter series, making sure they are each approximately 3-4 inches in diameter. Cut them out along their approximate edges. This does not need to be perfect.


Step 2: Select three colors of wood that go with your objects – e.g., light-colored pine for Hedwig or the Golden Snitch – and cut to roughly the size of your cutouts. Make sure both sides are sanded to a smooth finish. (I recommend using 220 grit, but go as smooth as you prefer.) I opted for a light color (pine or maple), a reddish color (cherry), and a dark color (usually walnut).
Step 3: Cover one entire side of each piece of wood with clear packing tape. Then spray all taped surfaces with a light coat of adhesive, and place your paper cutouts on their appropriate pieces of wood. If you have no adhesive spray, you can also attach the paper to the wood by taping them down with more packing tape. Unfortunately, this makes scroll sawing more challenging on detail cuts.
Step 4: Using a scroll saw, cut out all seven objects. Try to keep your cutting piece as large as possible for as long as possible for better control. The smaller the piece of wood, the more difficult it is to cut and manage with a scroll saw.
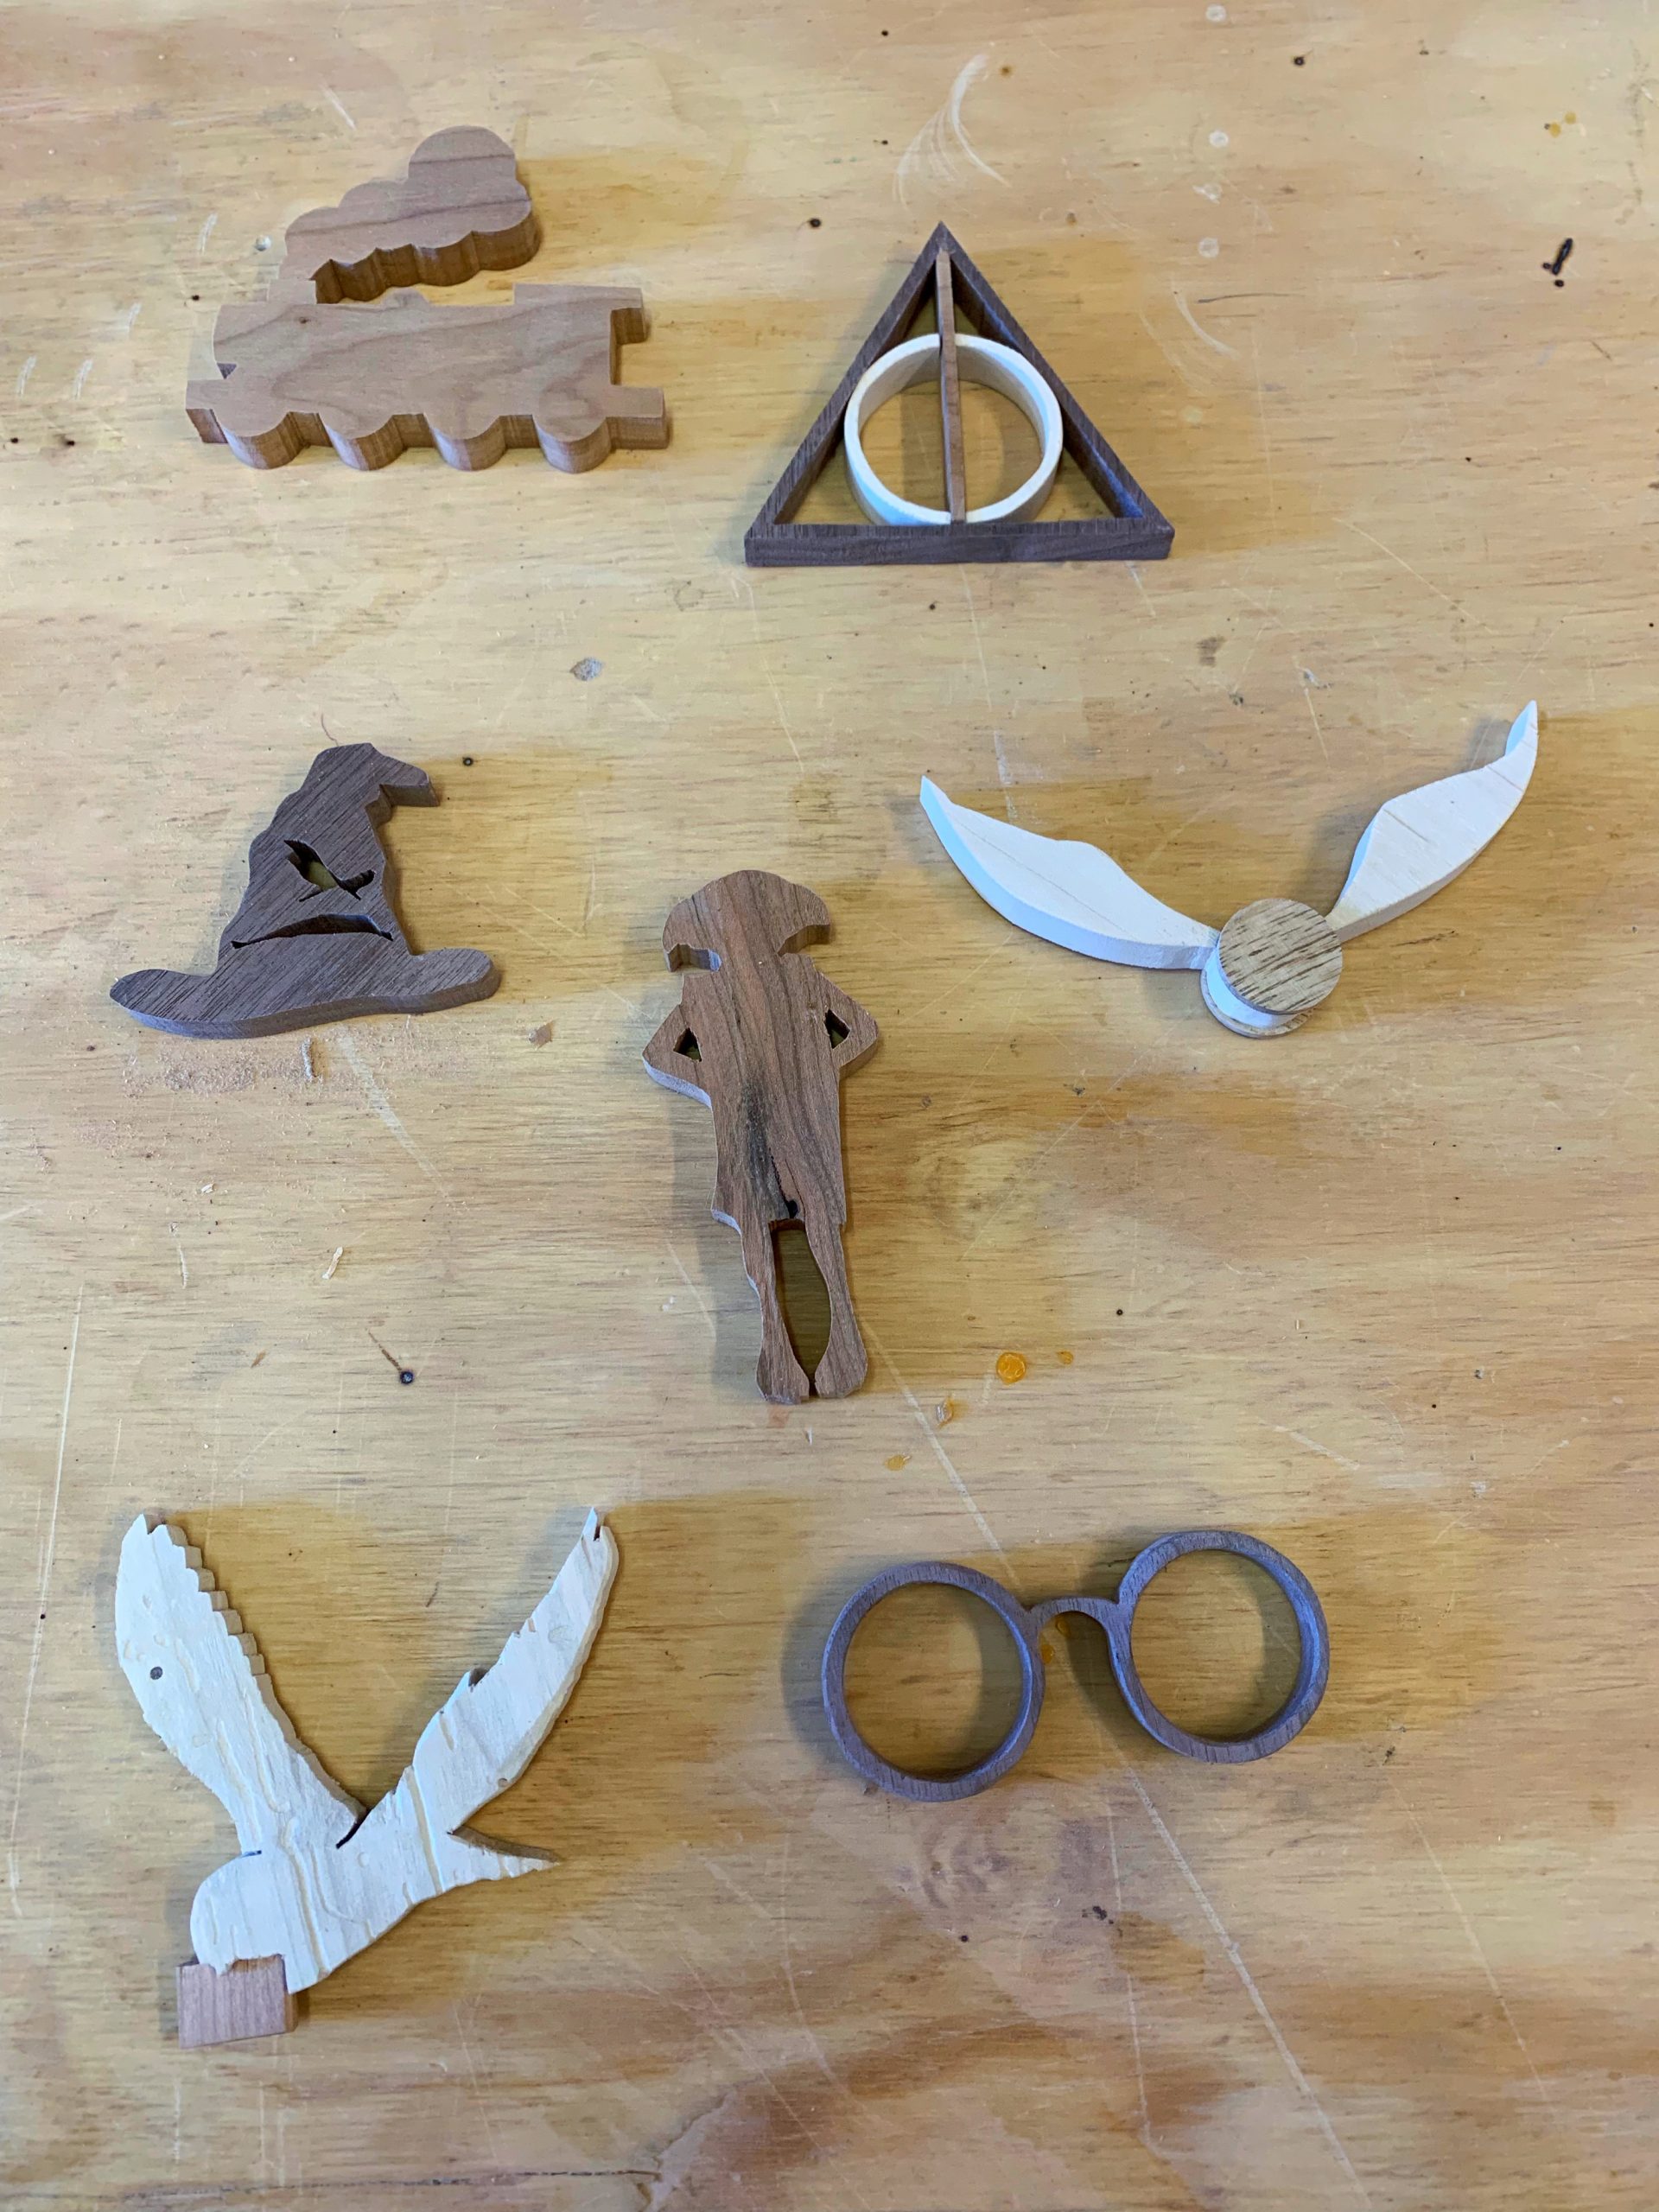
Step 5: Once you’ve cut out your pieces, remove the tape and paper cutouts, and sand any rough edges with sanding pads/paper. I chose to use multiple pieces of wood for each of the Deathly Hallows symbol, Hedwig and her letter, and the Golden Snitch. These were simply different shapes cut from different woods, then glued together.
Step 6: Once sanded smooth, apply one layer of Danish or mineral oil using a paper towel or foam brush. You may apply more coats if desired. Let dry for at least 4-6 hours.
Step 7: Approximate the center of mass on each piece. Drill a hole using the 1/32-inch drill bit to a depth of approximately ¼-inch. This is important so that they hang straight.
Step 8: Next, screw in your eyelet screw. Place a nail through the eyelet and allow the piece to dangle—this will allow you to assess and predict whether it will hang straight prior to tying the string. Adjust the eyelet if necessary.
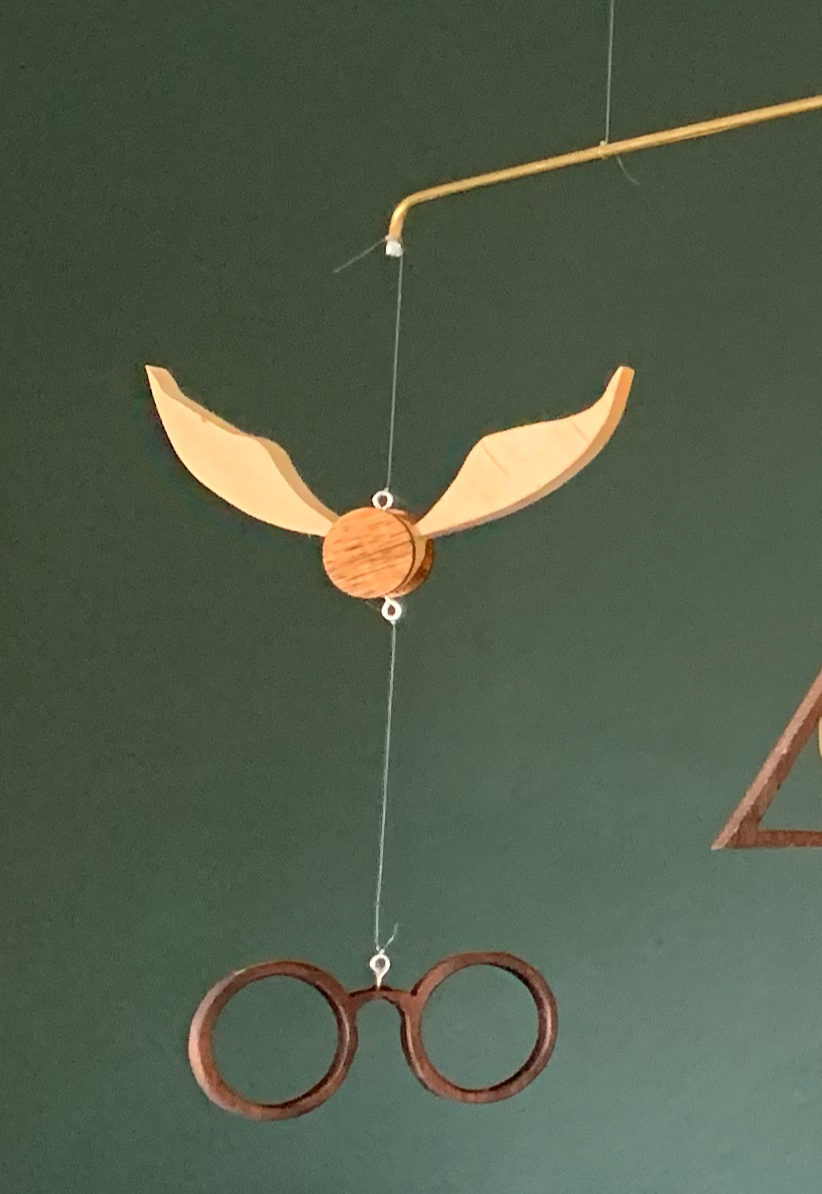
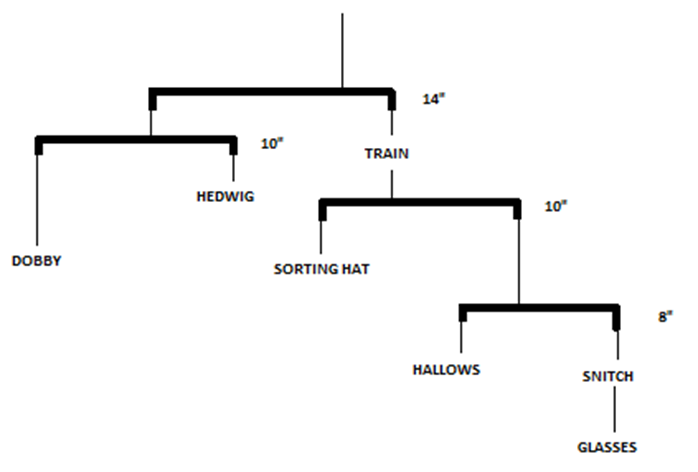
Step 9: Tie a 4- to 8-inch long string or fishing line to each piece. Plan these string lengths out ahead of time (it helps to draw a diagram on paper) so that you know how long you want each string to be. You should also choose two pieces that will not only dangle from a shaft but will also have something dangle from them as well (see my Golden Snitch). These will require an eyelet screw on both the top and bottom.
Step 10: To make the horizontal shafts, I used the 1/8-inch brass rod (this is when you’ll need your pliers) and cut it to the following lengths: 16 inches, 12 inches, 12 inches, 10 inches. Long pieces of wood can be used instead of brass if you’d prefer. Next, approximately 1 inch from each end of the rods, bend the brass approximately to a 90-degree angle to make the brass a u-shape. This will result in 4 shafts that now measure 14 inches, 10 inches, 10 inches, and 8 inches.
Step 11: Arrange the shafts on a tabletop and situate the pieces as you want them to hang. Starting with the lower tier, tie one object to either end of a rod. Secure them to the shaft with hot glue or epoxy. I recommend using different lengths of string so that they hang at different heights.
Step 12: Next, identify the balance point on each shaft and tie another 3- to 4-inch string. Finding the exact balance point is challenging, but you can slide the knot along the shaft to make this easier. Once this point is found, the knot should be secured to the shaft with hot glue or epoxy to prevent slipping. The same instructions should be followed in order to attach the remaining pieces, again taking care to secure each knot to the correct balance point. (Tip: if your aesthetic can tolerate curved shafts then this will make for a more flexible (easier to find) balance point (see below).

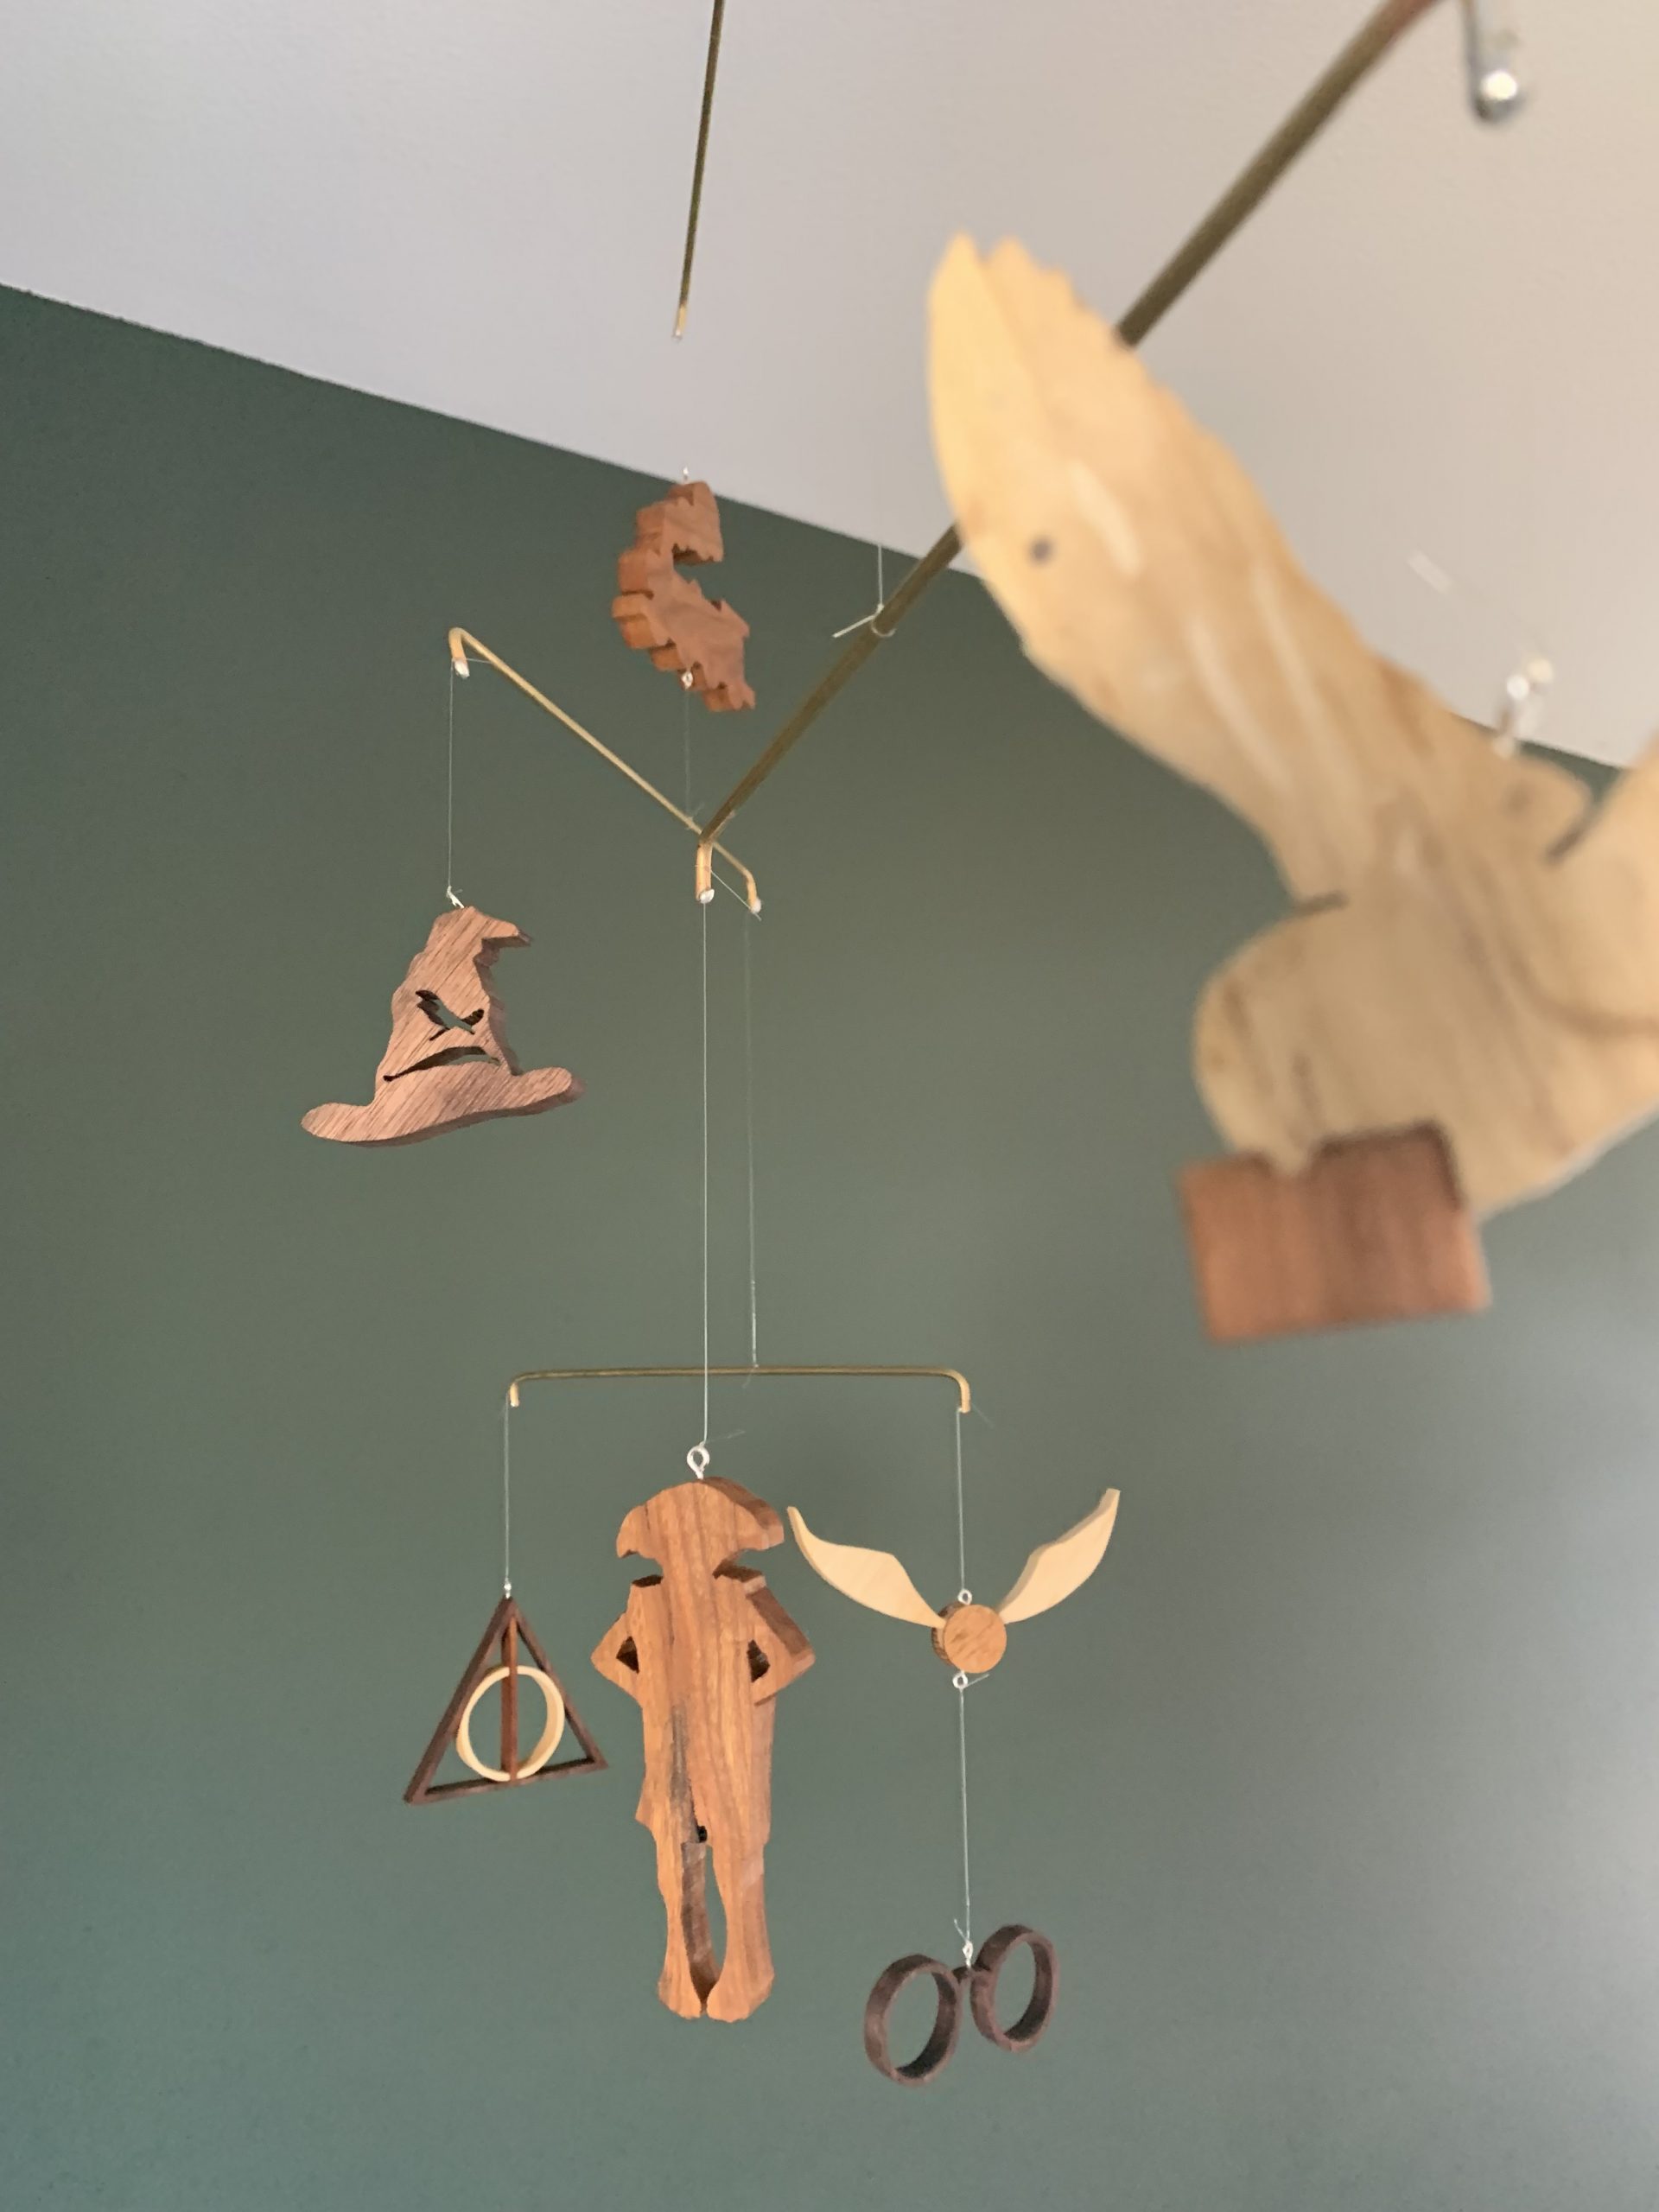
Step 13: Hang and enjoy! I usually just tie the primary hanging string to a screw and screw it into the ceiling.
Want to submit a DIY of your own? Check out our submissions page here.