
Potter DIY: The Elder Wand
by NightMagic191
A few years ago, when Harry Potter was less famous than it is now and very few Potterheads were lucky enough to get their hands on official merchandise, I thought it would be really cool to have Harry’s wand. So I made it myself. After that, I tried several other wands from the series, and today we’re going to make the Elder Wand!
What You’ll Need:
- Sheets of paper (A4 or bigger)
- Scissors and a cutting knife
- A glue stick and hot glue gun
- Vinavil glue or transparent polish
- Acrylic paint
- Paintbrushes (both soft and hard)
- Adhesive tape
- A pencil
- Skewers
- Sandpaper
- An ink pen/black indelible pen (with a thin point)
- A ruler
Directions:
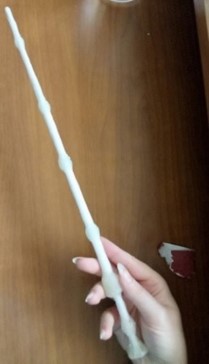
Step 1: Tape together your skewers from end to end and trim them to length. The total length should be 15 inches (38 cm).
Step 2: Now take a paper sheet, cut it in half lengthwise, and glue the two pieces together to form a long strip.

Step 3: Put a small amount of glue on the corner of your sheet of paper. Place the skewer on top and wrap the paper around it, making sure to keep it very tight. If you feel the paper slipping, just put some more glue on it.
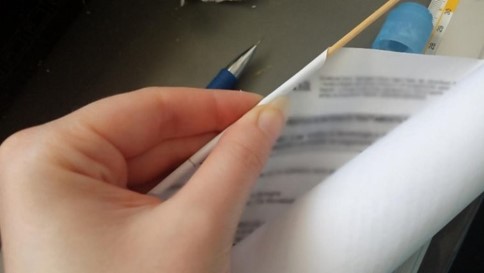
Step 4: Wrap the entire stick. When you reach the bottom (and you think your wand is thick enough), cover the skewer completely, then cut the surplus and stick down the edge with more glue. Once your stick is completely covered, it will be a uniform thickness along the length. You can then wrap it with another paper strip to give it a conical shape. Start from 2/3 of the way down the stick, and continue until you reach the end.
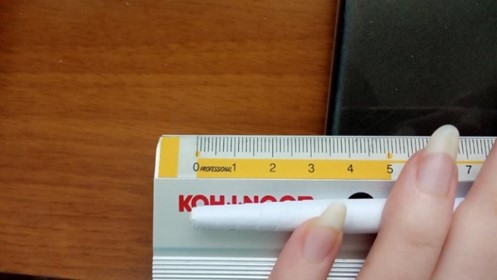

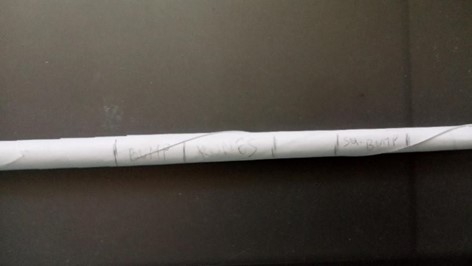
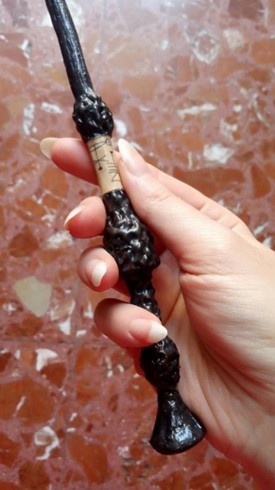
Step 5: Mark on your wand with a pencil where each bump goes. The wand has five regular bumps, a square one, and a conical one at the bottom. All the bumps have a dotted decoration, but the bottom one is smooth and has six thin slots. I measured them as:
- Top section – 3.5cm
- Thinner bump – 1.5cm, then 5cm space
- Second bump – 1.5cm, then 5.5cm space
- Third bump – 2cm, then 5.5cm space
- Fourth bump – 2cm
- Runes – 2cm, then 1cm space
- Squared bump – 2cm, then 2cm space
- Handle bump – 1.5cm
- Conical bump – 2cm
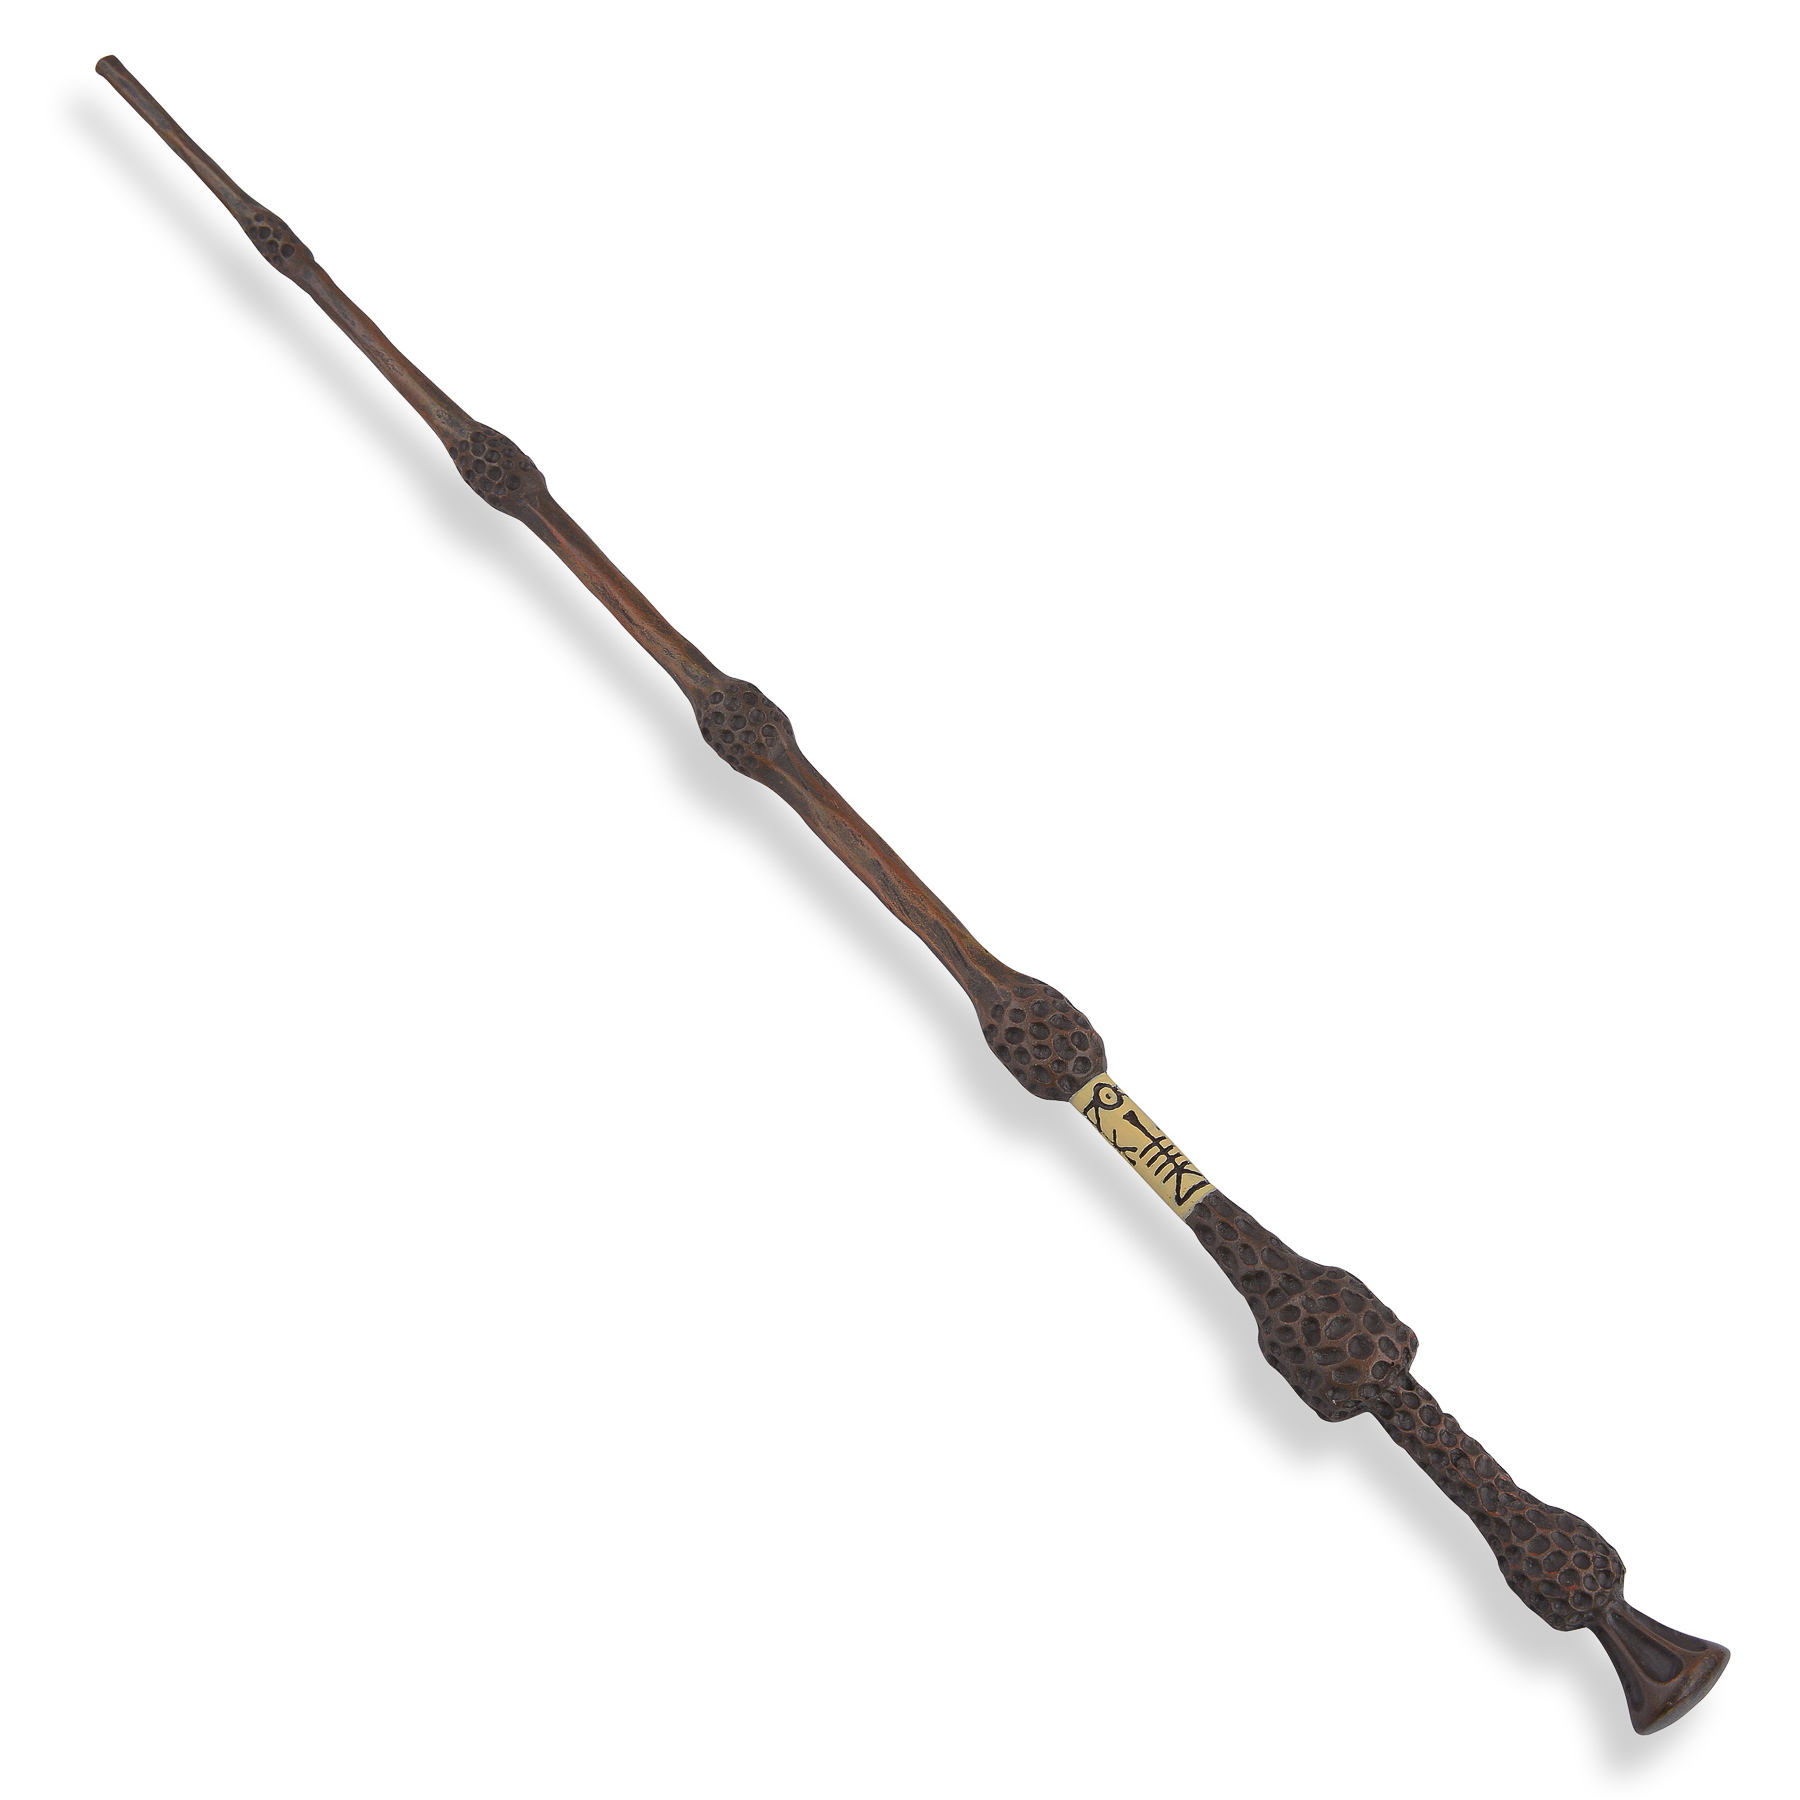
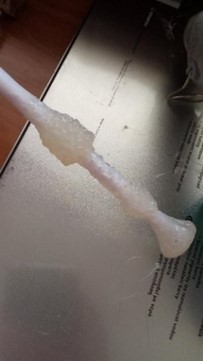
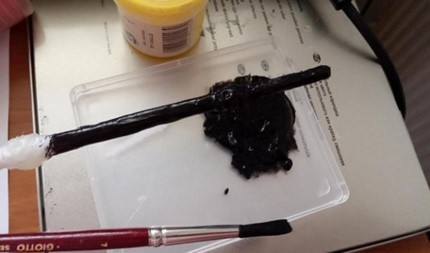
Step 6: Starting from the top, put a drop of hot glue over the hole at the end of the wand until it’s completely filled. Use your fingers or a flat surface to form it into a point. Cover the wand with a thin layer of hot glue, rolling the stick in your hand while you’re gluing it.
Step 7: Now for the sculpting. Drop a small amount of hot glue where you marked the first bump, and keep twirling the stick. Do the same for all the bumps except for the bottom. Make sure to check the desired thickness of each bump. The squared bump has thicker borders: When the glue is dry, drop a ring of glue on the corners. Cover any imperfections with more glue. Put a little more glue right before the runes, because the handle is thicker at that point.

For the squared bump, make a glue ring all around the bottom of the wand, using smaller and smaller quantities as you approach the closest bump.
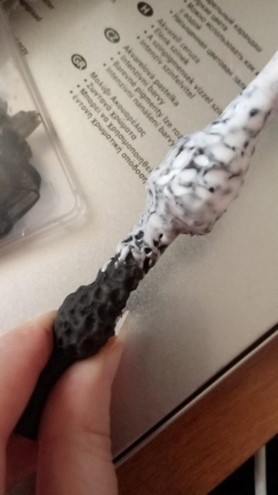
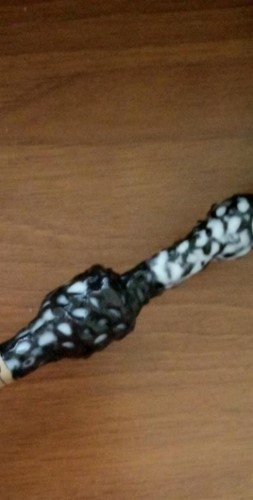
Step 8: When you’re happy with your results, take out your cutting knife. Cut away any surplus glue. Smaller parts can be smoothed with sandpaper. Take a small piece of sandpaper (mine is 120) and rub it quickly on the glue; the heat will make it smooth.
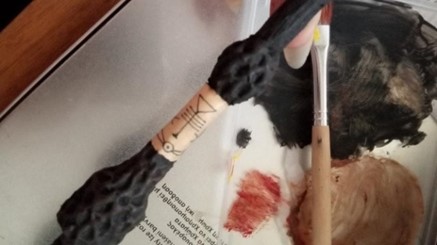
Step 9: Heat up your glue gun, then press the tip on the bumps for a second or two; the glue will melt, producing a small hole. Replicate this process for each bump, making random holes all over the surface. For the bottom of the wand, you have to make six slots: Press along the tip of your glue gun stop few millimeters before the edge. Repeat for each slot.
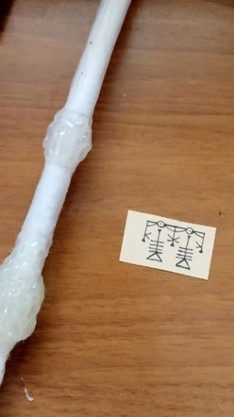
Step 10: Now for the runes. Either use a piece of brown paper or paint a white piece brown with thinned paint or old coffee. Cut a strip of this long enough to wrap around the wand and tall enough to fit the space you left for runes. Draw your runes with an ink pen. Apply Vinavil glue to the wand, then stick down the strip of paper, covering it with a thin layer of glue as well.
Step 11: Once it’s dry, paint your whole wand black, careful not to cover your runes. Then, using thinned brown paint, paint over the black to create the wooden effect. Let it dry completely.
Step 12: Cover the whole wand with a thin layer of Vinavil glue, using a soft brush. Let it dry completely for 3-4 hours.
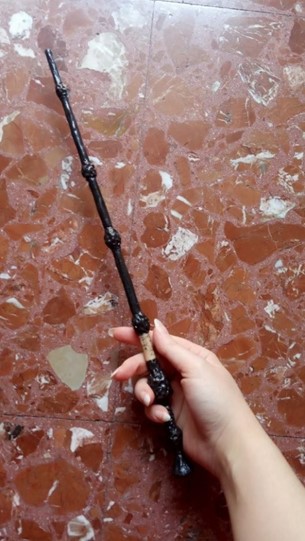
You’re done! Enjoy your hard work by casting some spells or decorating your favorite Potter corner with this brand new addition.
This DIY was submitted by a MuggleNet reader. Have a DIY you’d like to submit? Check out our submissions page here.