
Potter DIY: “Harry Potter” Castle Card
by Heather
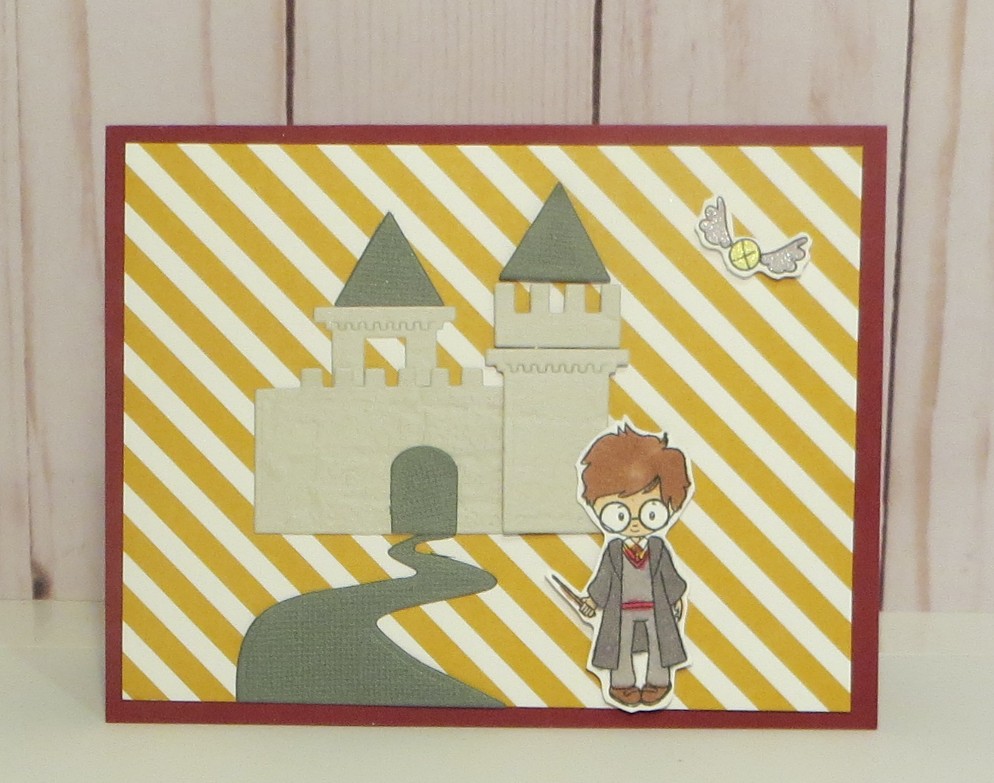
If you love working with paper and are looking for a way to use your die-cut machine to Potter up your life, this DIY is the one for you. Check out how we made this card below.
What You’ll Need:
- Alcohol-based markers
- Berry red cardstock, folded in half
- Yellow-striped paper
- Light gray cardstock
- Textured, darker gray cardstock
- Castle die (here is a similar one)
- Harry Potter stamp set (here is a similar one)
- Scissors
- Die cutter
- Glue pen
- Foam tape
Directions:
Step 1: First, I cut out my castle pieces. I wanted texture on the castle so it would look like brick or rock. To do this, I took the light gray cardstock and used a brick embossing folder through the die-cut machine, which gave the cardstock a brick texture. Out of this piece, I cut the base of the castle, one tower, and two building pieces. I laid the dies on the embossed piece and ran it through the die-cut machine.
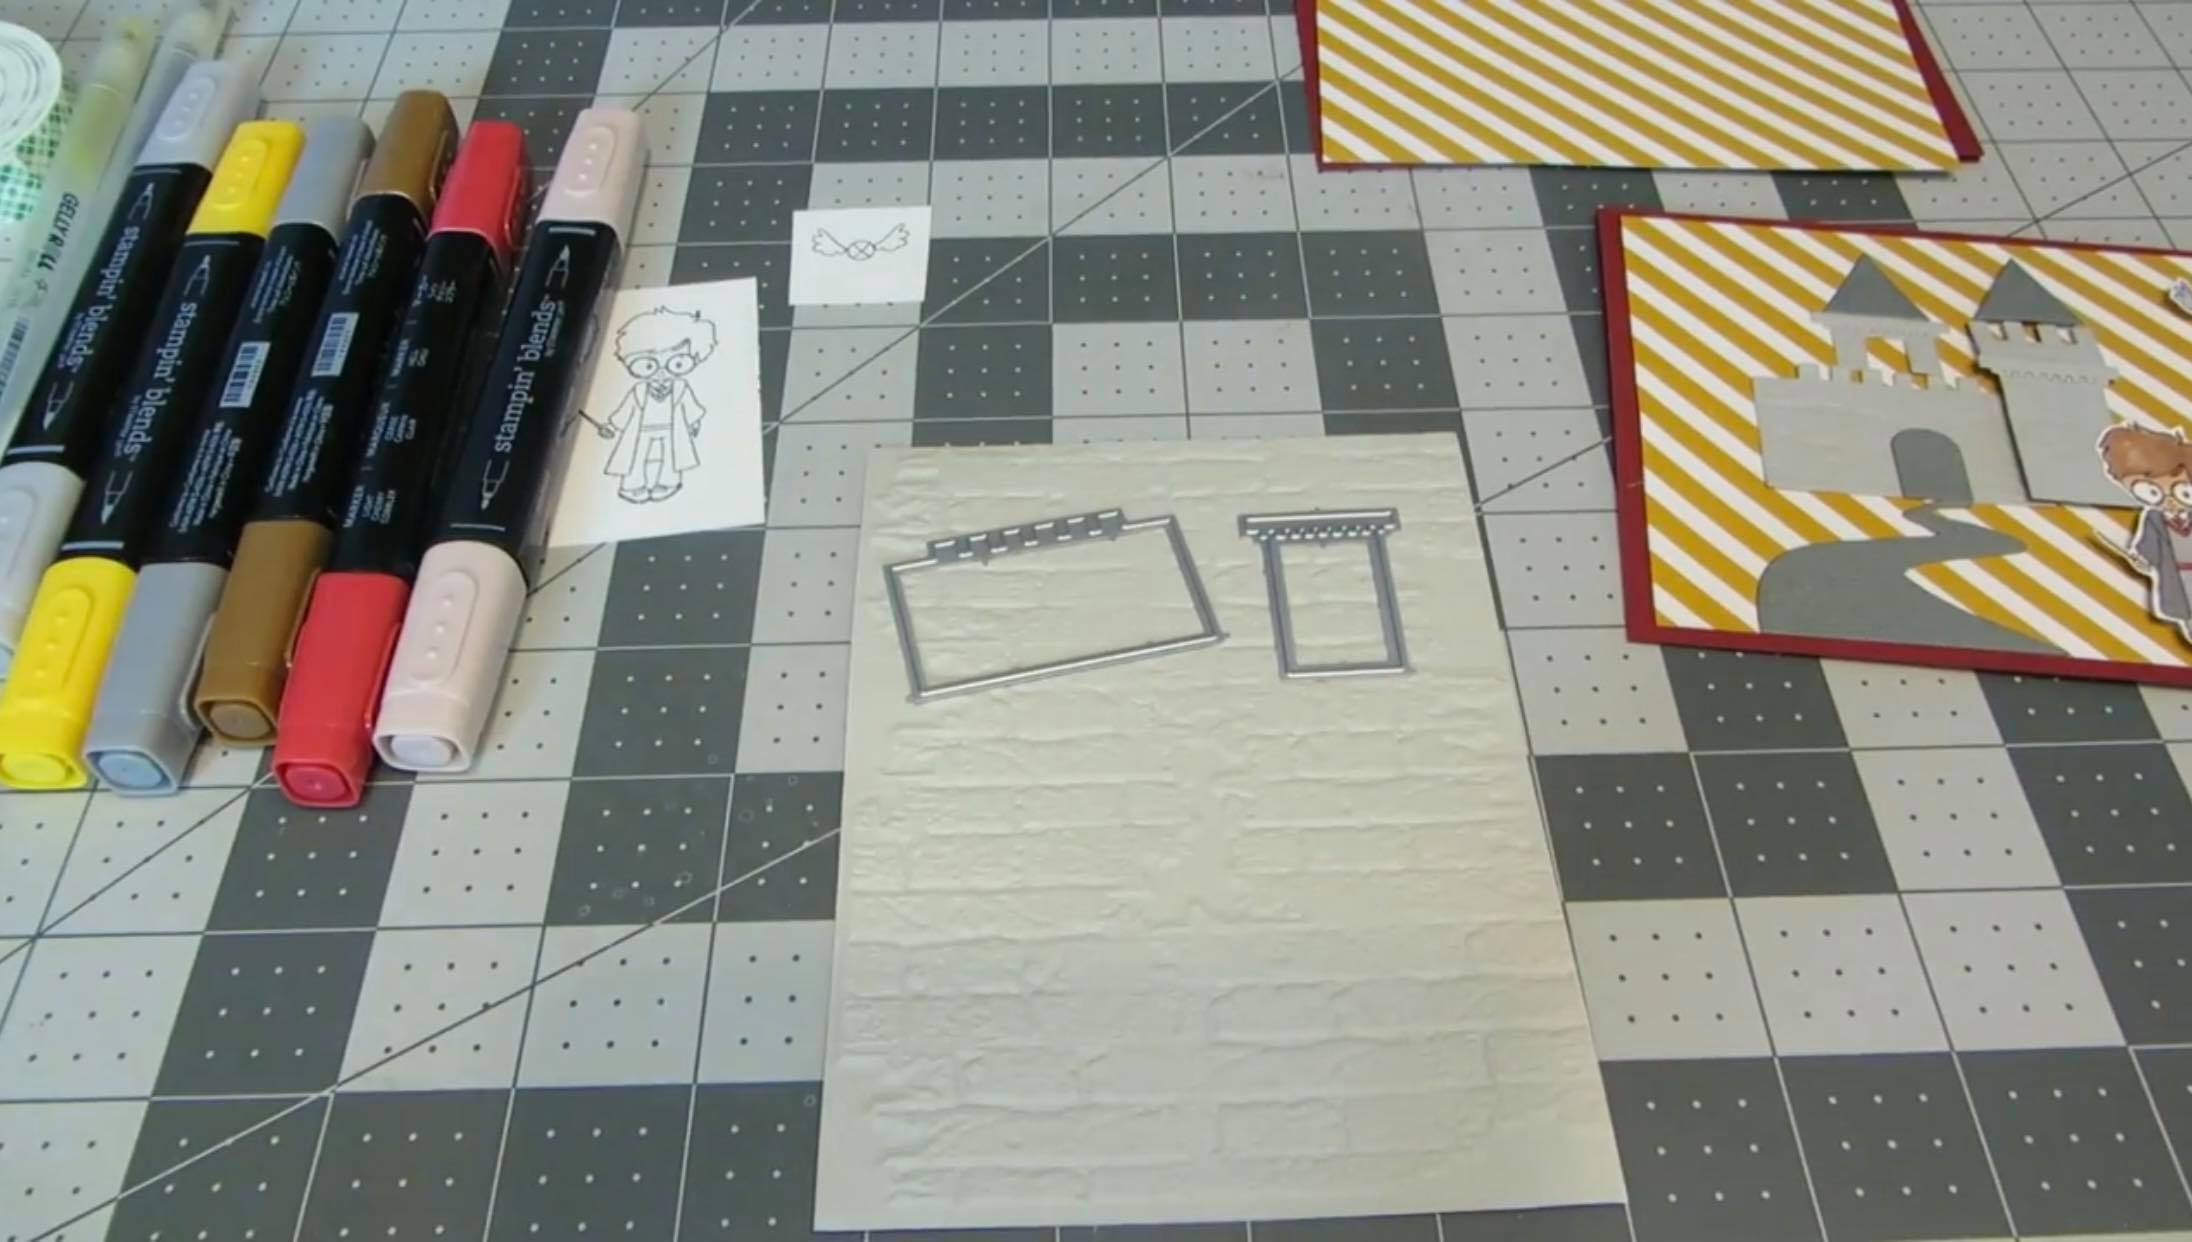
Step 2: Out of the darker piece of textured gray, I cut two of the tower roofs, the door, and the road. You can use these pieces as many times as you want and make as big of a castle as you’d like.
Step 3: Next, I colored in my Harry and Snitch stamps using alcohol-based inks. I started with Harry’s skin but left his glasses uncolored. For his hair, wand, and shoes, I used the bronze ink pen. If you want to do more shading or blending, you can certainly do that. I kept mine pretty simple. For his vest and his pants, I used the light smoky gray, leaving the bands on his vest uncolored so I could add the Gryffindor colors in later. For his robe, I used dark smoky gray. Then I wanted to add some red and yellow for Gryffindor colors – I used the light cherry cobbler marker for the band at the bottom and the “v” on his vest as well as a little bit on his tie, where I also used a bit of yellow. I left the shirt collar uncolored.
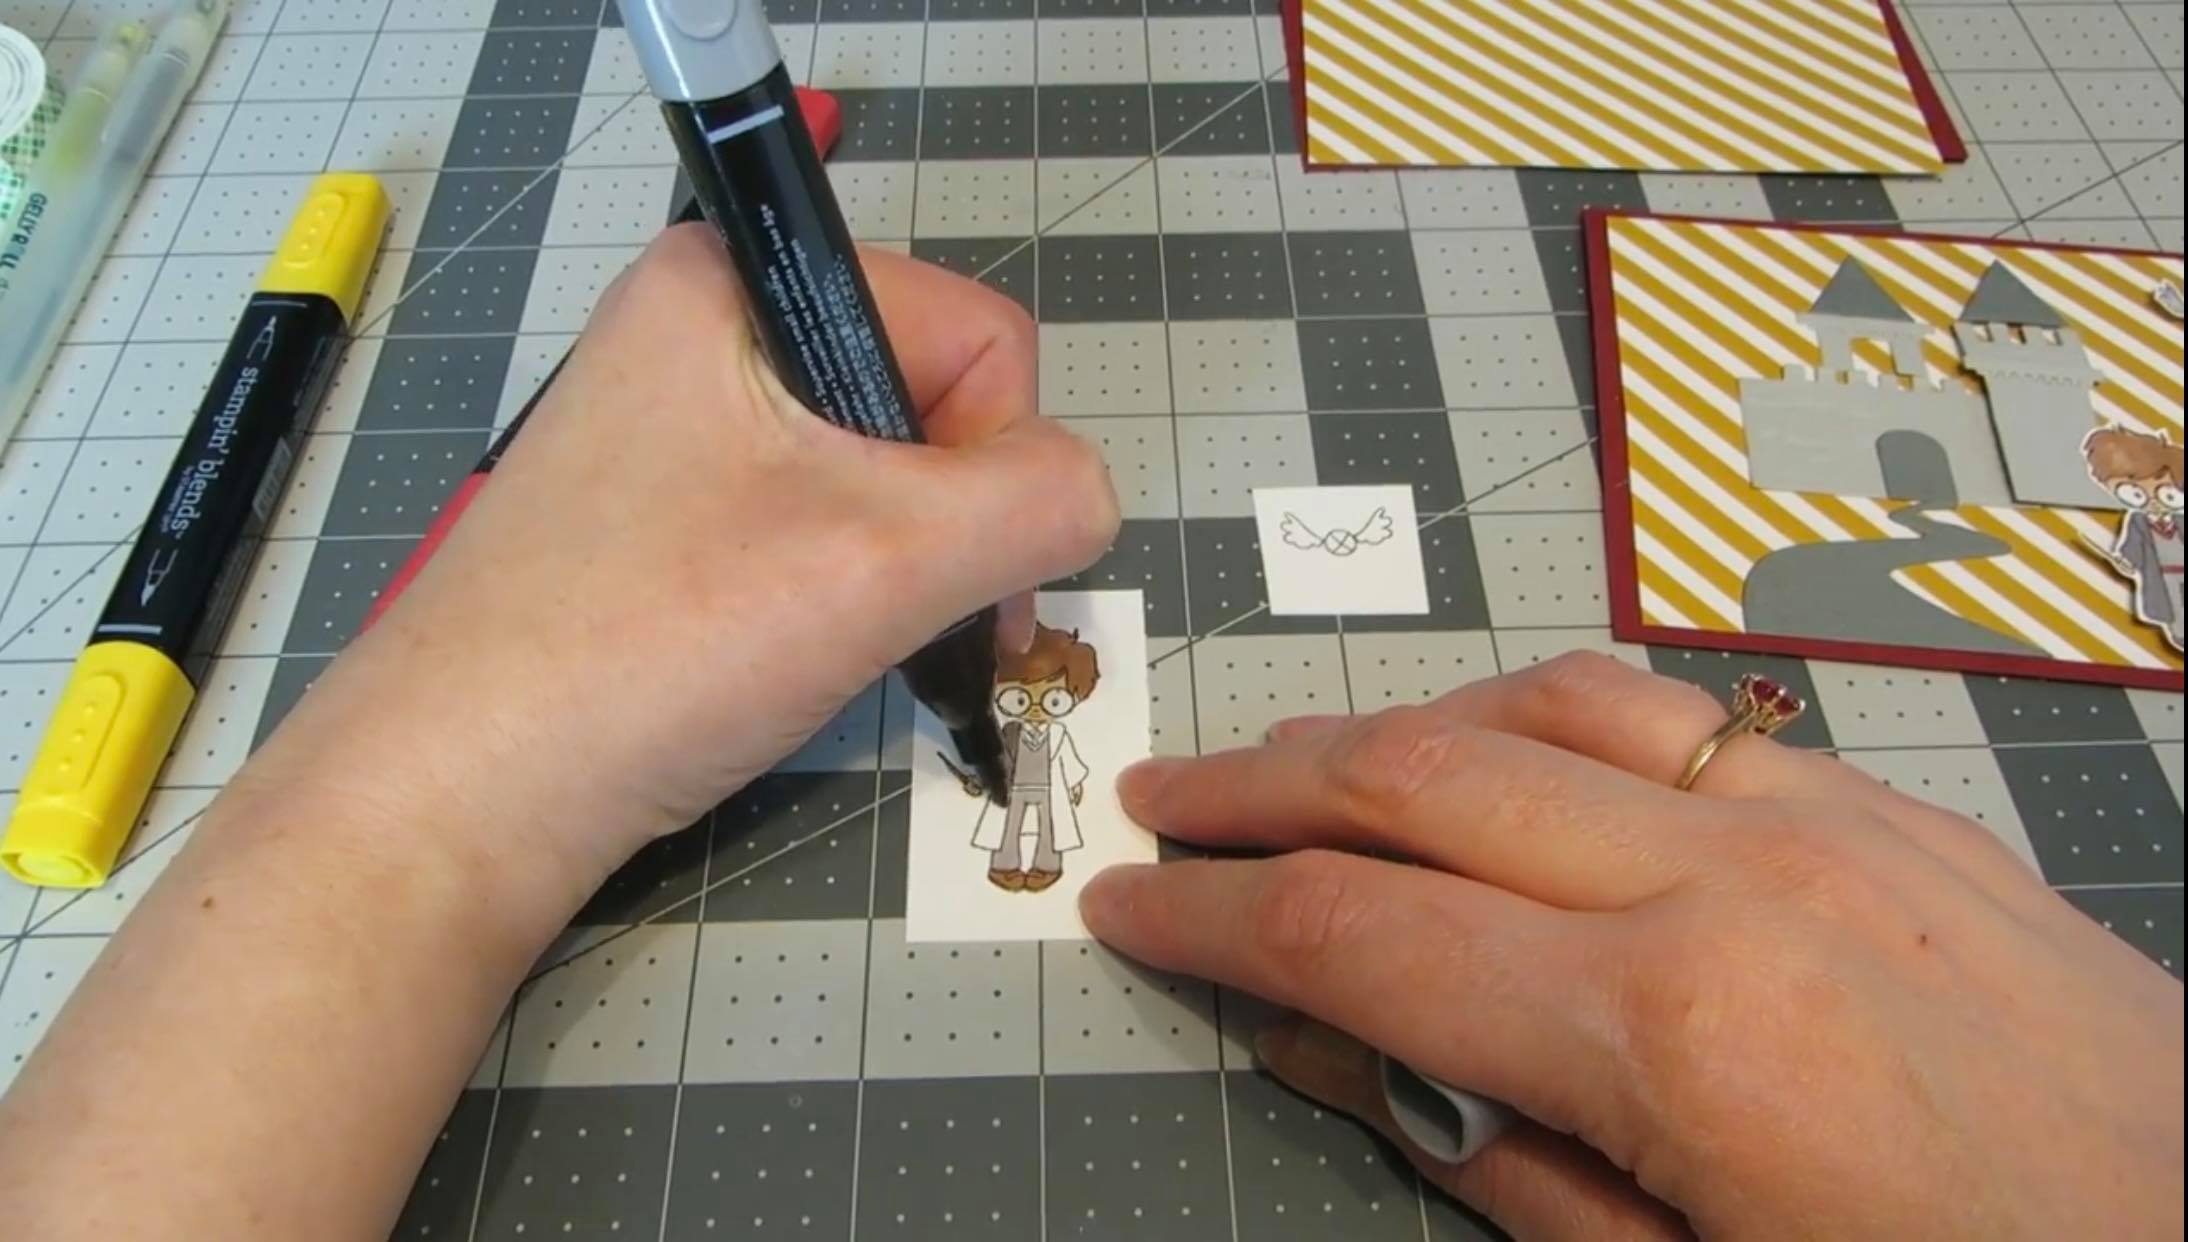
Step 4: I wanted the Golden Snitch to be shimmery, so I used Stardust Jelly Roll pens in gold and silver. That gave it a really nice shiny sparkle. Then, I just used my scissors to cut out my cute little wizard and my Golden Snitch.
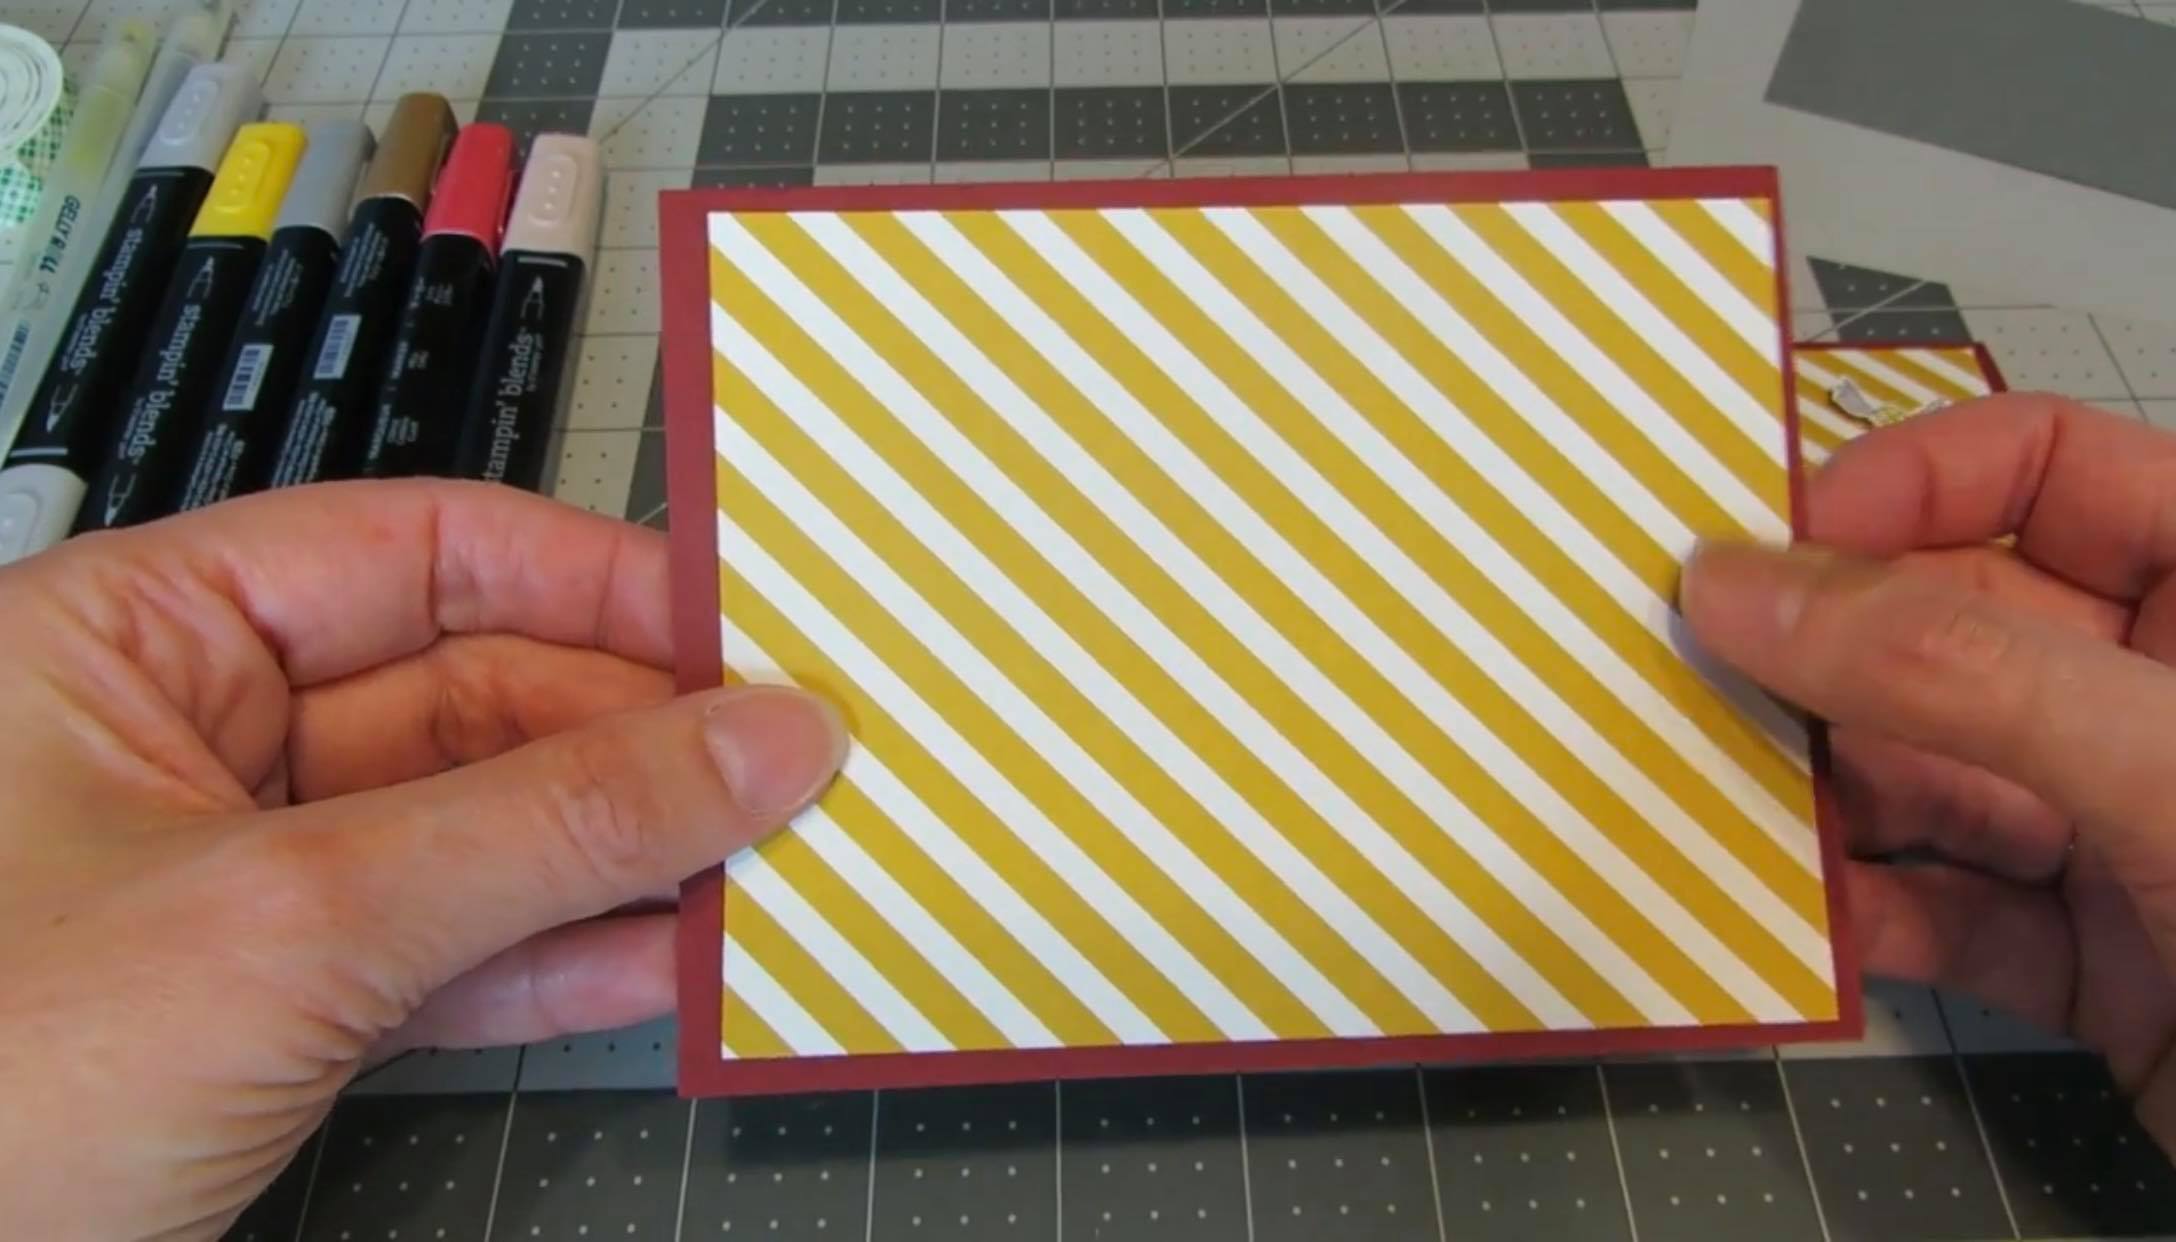
Step 5: Next, I put down my patterned paper on my card base. The patterned paper is cut to 5 1/4 x 4 inches.
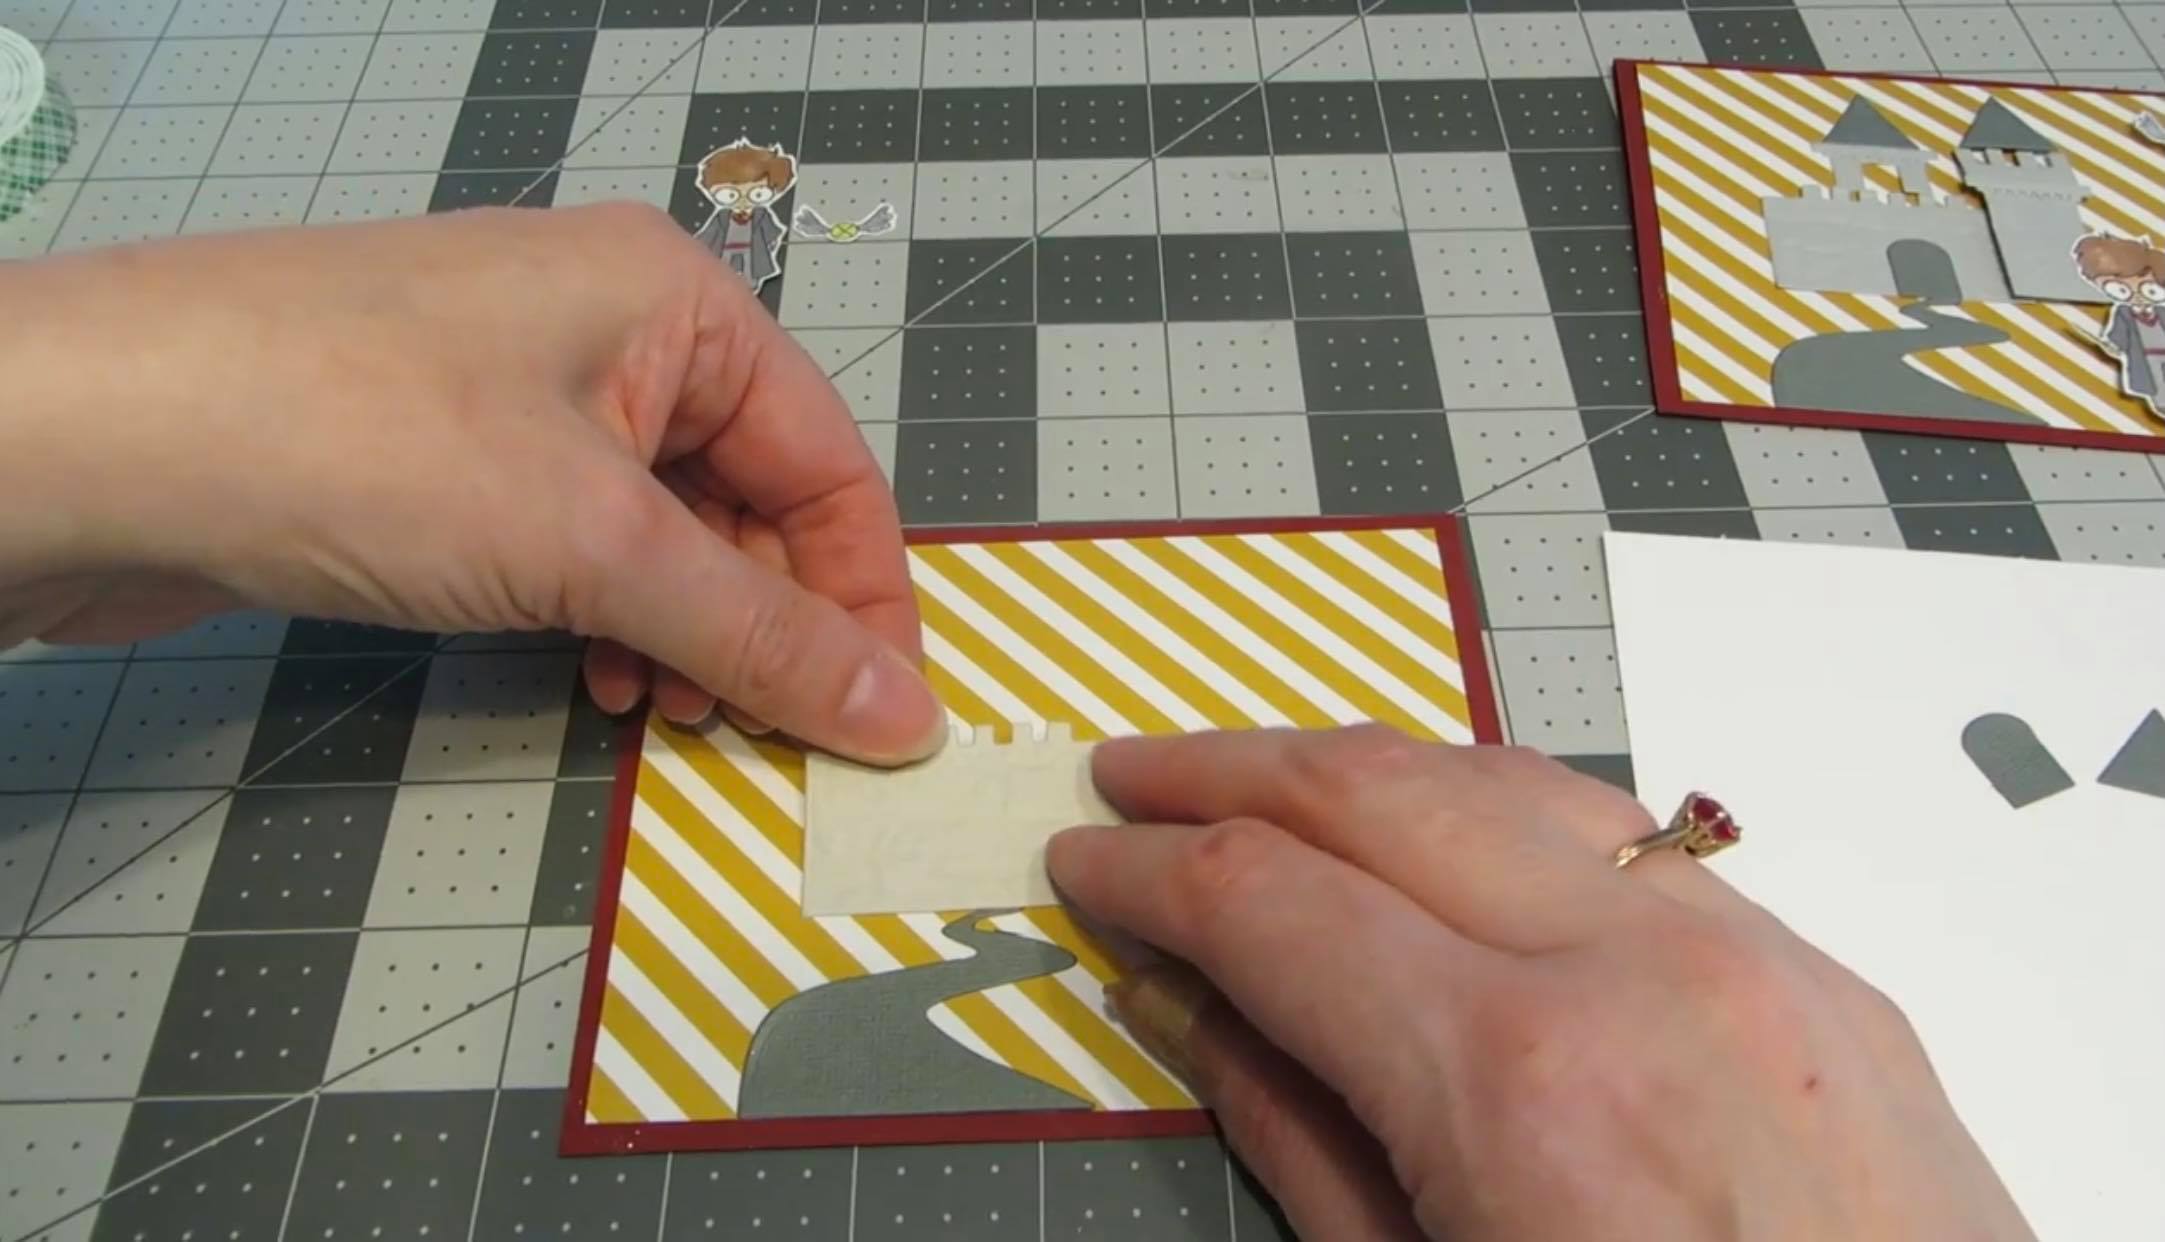
Step 6: Once those are glued together, the next step is to build the scene with all the pieces from the die-cut using a glue pen. I started by lining up the road with the bottom edge of the patterned paper, then took the main section of the castle and adhered it above the road. Then, I glued the tower piece and pointy part of the roof above it. Finally, I attached the castle door where the road leads to the castle.
Step 7: I then wanted the next section to be popped up a bit for dimension, so I added a couple of pieces of foam tape to the back of the next tower piece. I overlapped it a little bit on the right side of the castle, then added foam tape for the pointy roof and the bricks and stuck them down.
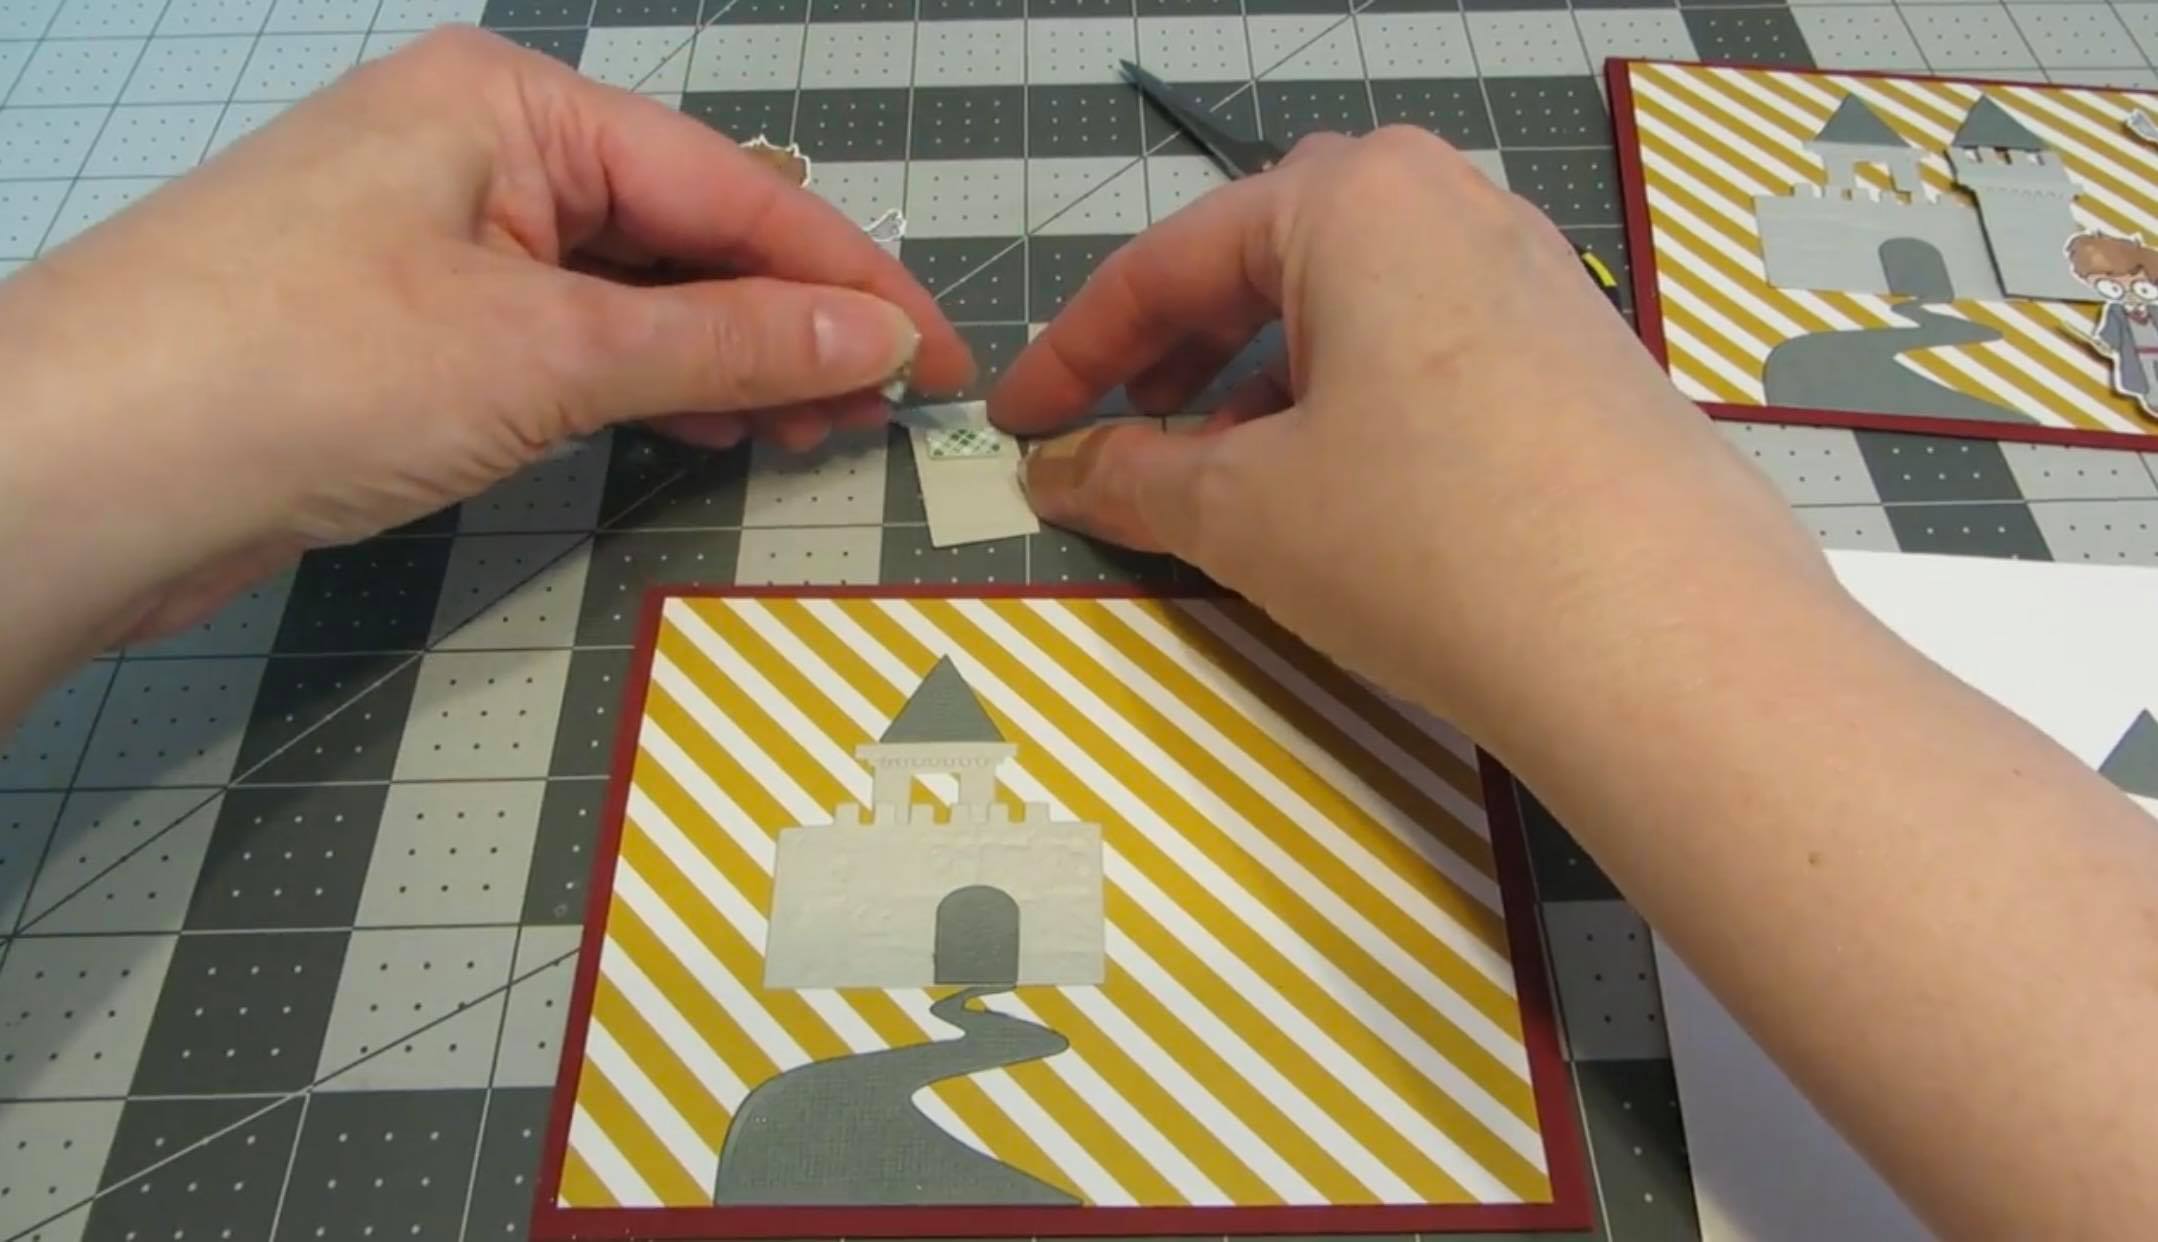
Step 8: On the back of the wizard, I added a couple of pieces of foam tape and a teeny little piece of foam tape for the middle of the Golden Snitch. Again, I overlapped him a little bit with the castle to give it a little bit of dimension.
There you go – I hope you enjoy this Harry Potter-inspired card. Have a magical day!
This DIY was submitted by a MuggleNet reader. Have a DIY you’d like to submit? Check out our submission guidelines here.